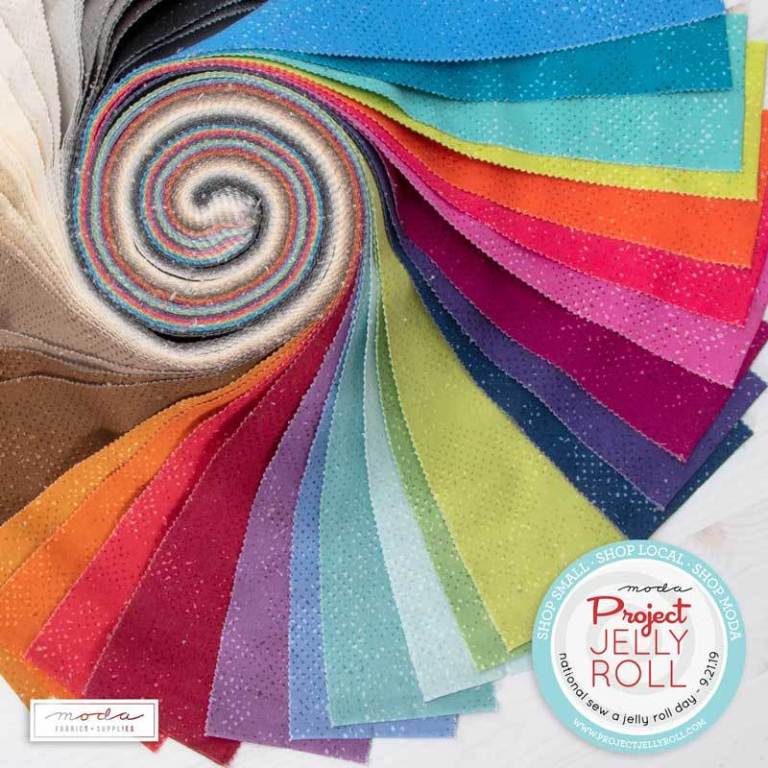
2020 JELLY ROLL PATTERNS NOW AVAILABLE FOR FREE DOWNLOAD

National Jelly Roll Day has arrived! Part of the day’s celebration are free Jelly Roll patterns from Moda fabrics, This year, Jelly Roll Day is a virtual event here at RCQ.
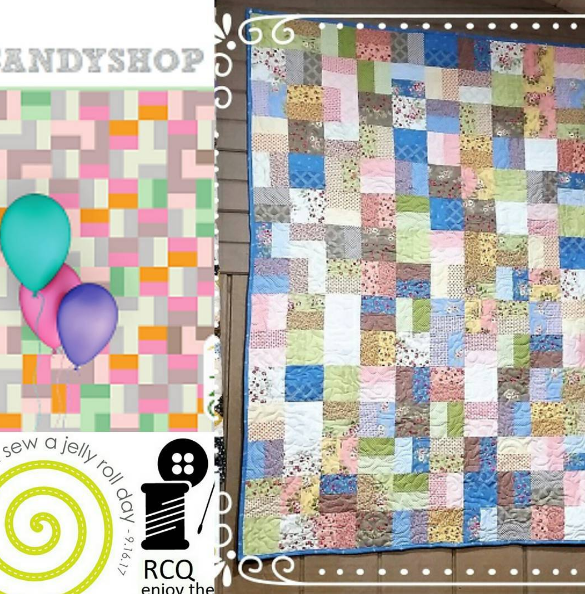
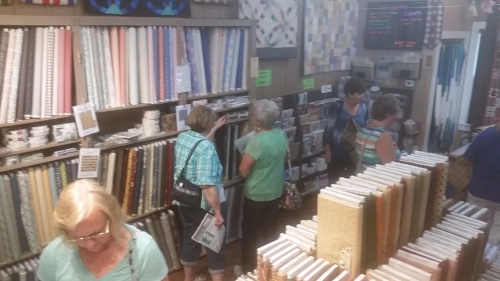
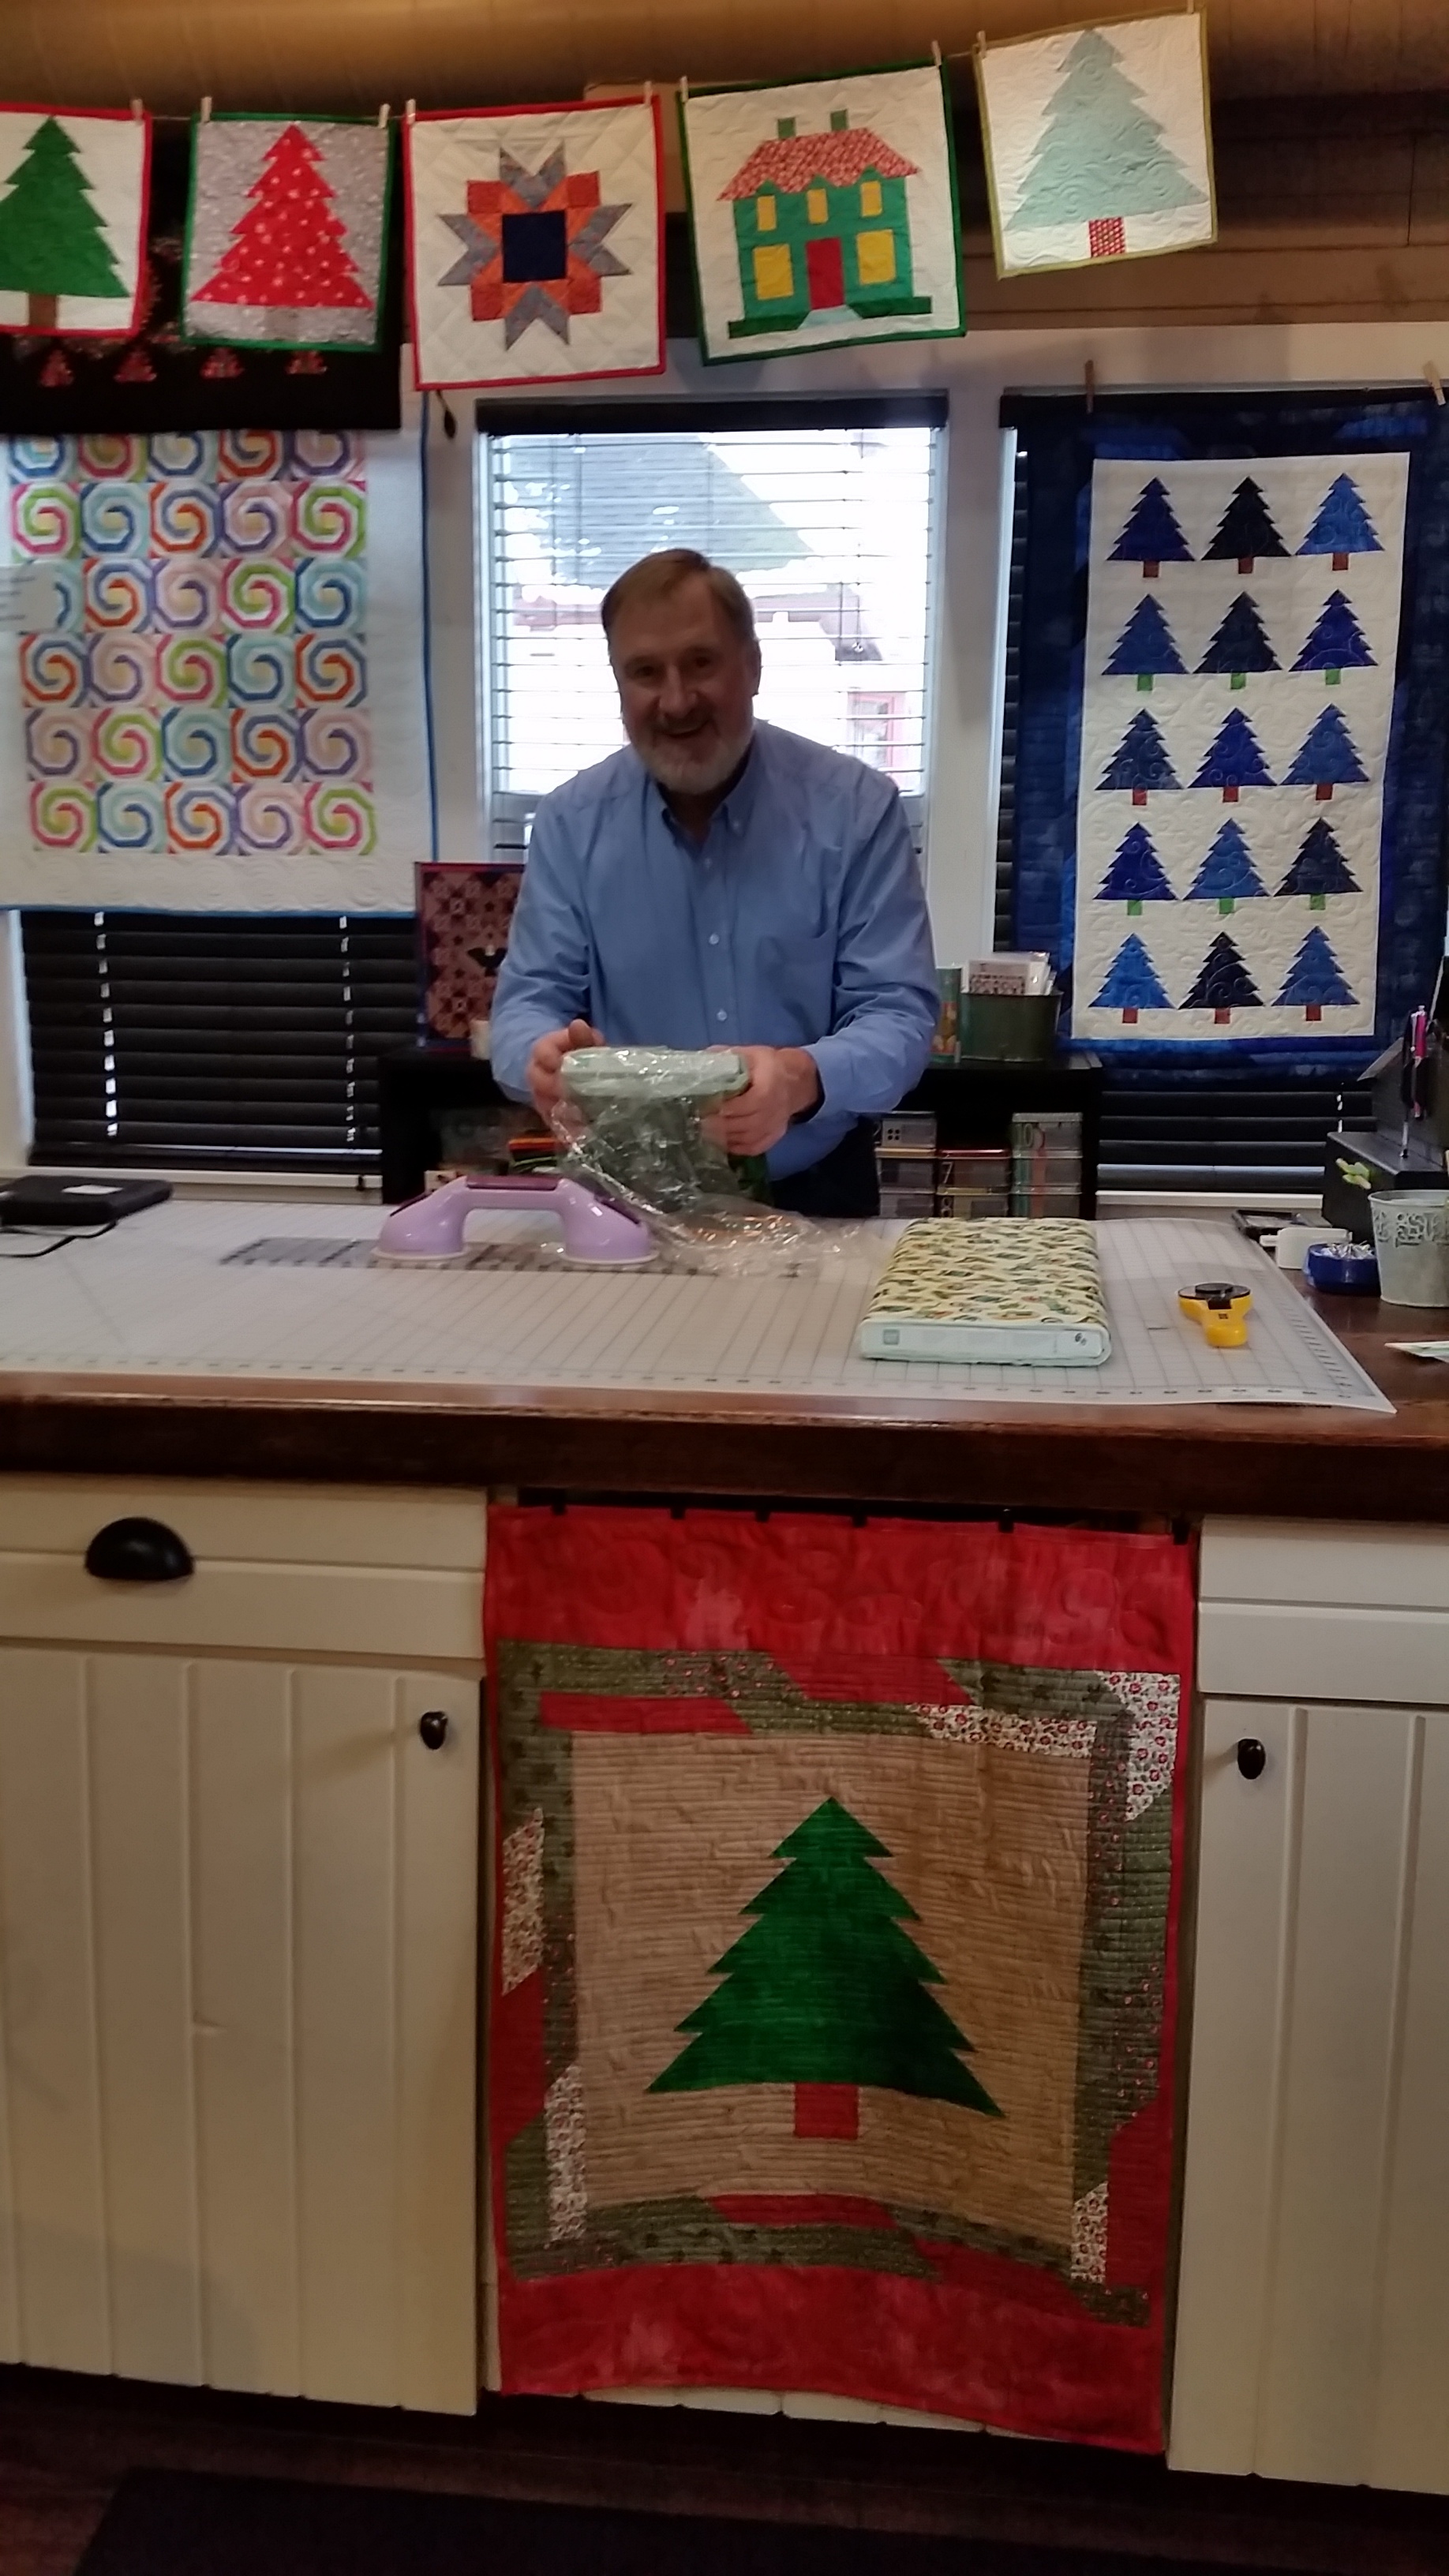
Welcome to our online shop. Please be our guest and help yourself to the day’s offerings.
Now that the big day is here, with Moda Fabrics United Notions' permission, we can release the much anticipated #projectjellyroll2020 patterns!
(scroll down for your free downloads).
If you are new to National Sew A Jelly Roll Day, scroll down abit further where you’ll find all the patterns from 2019 and 2018 too! Sew much fun ☺
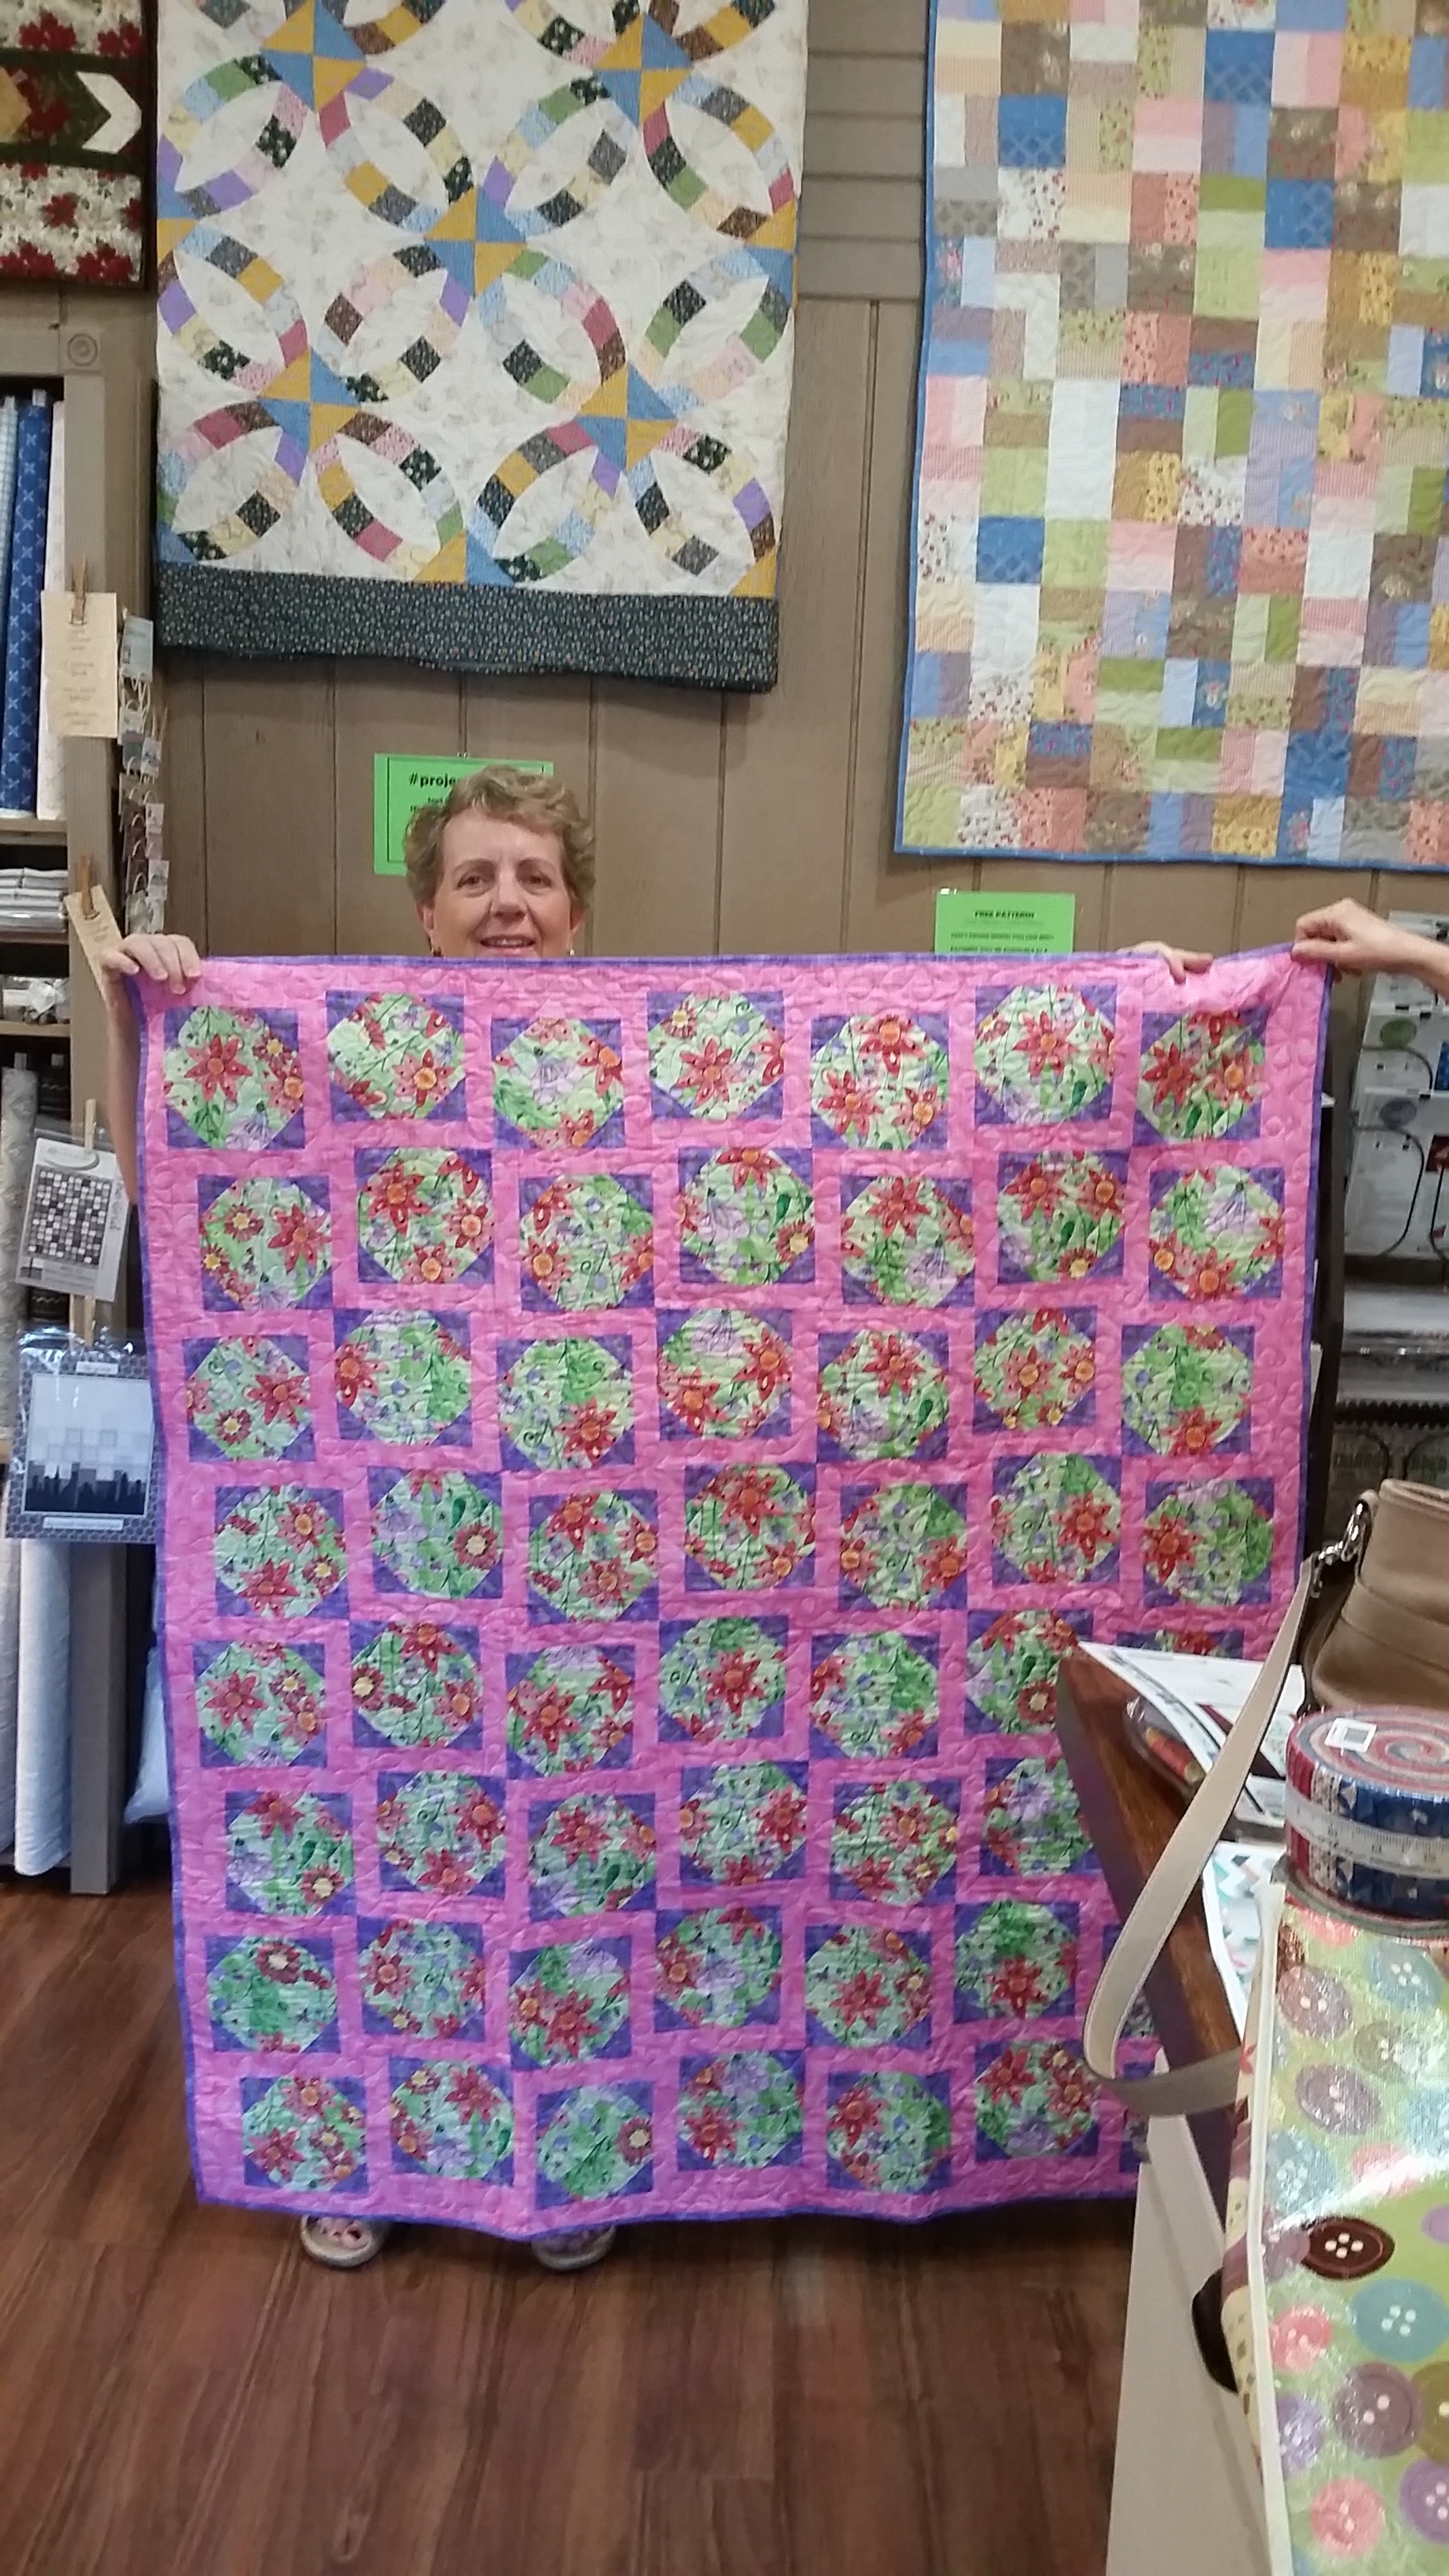
A BIG thank you to Moda for providing these fabulous new patterns and everything they do to create this fun event for quilters everywhere.
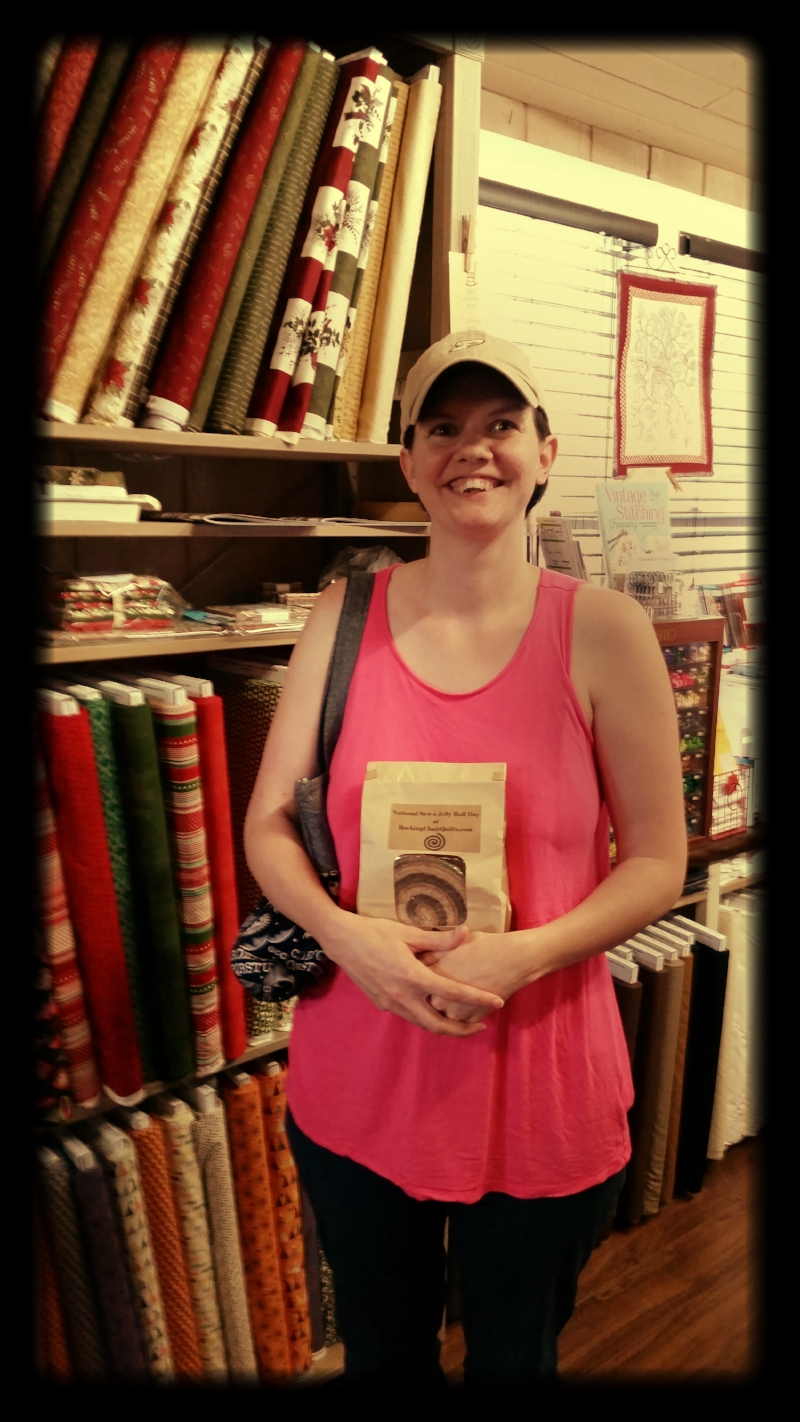
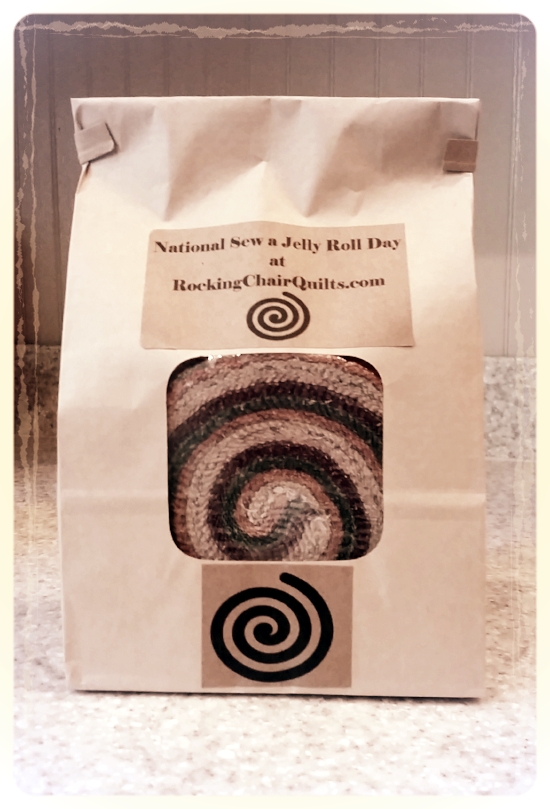
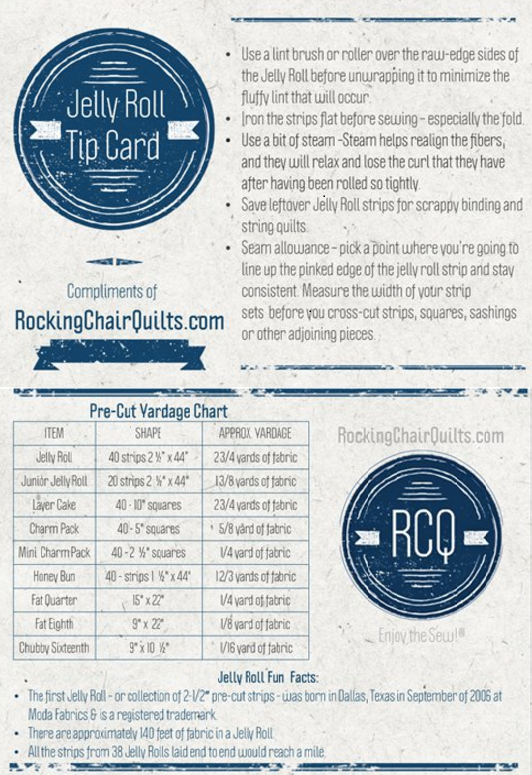
To start you off - here is a little gift from RockingChairQuilts.com : A Jelly Roll Tip Card and pre-cut yardage chart for you to copy, print out or keep as a handy reference on your smart phone or tablet.
HERE ARE 10 IDEAS FOR JELLY ROLL STRIPS AND SCRAPS:
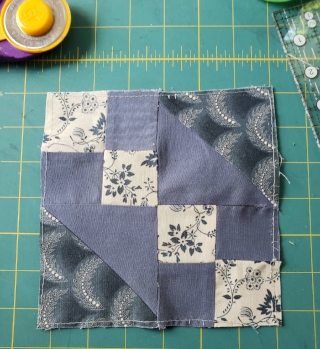
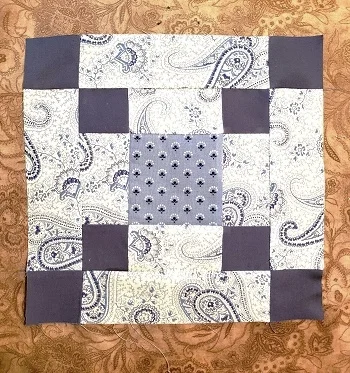
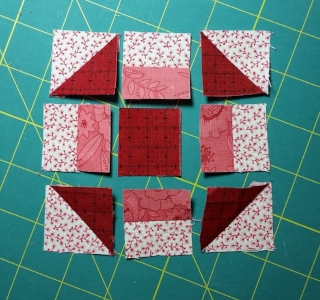
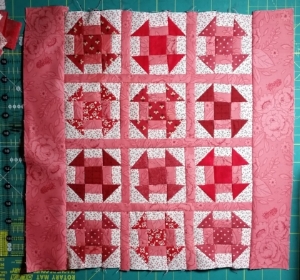
Make strip sets for 9-patch blocks
Make strip sets for 4-patch blocks
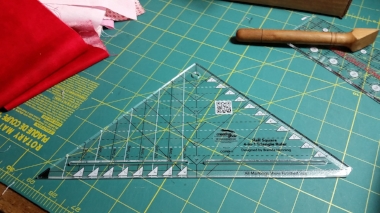
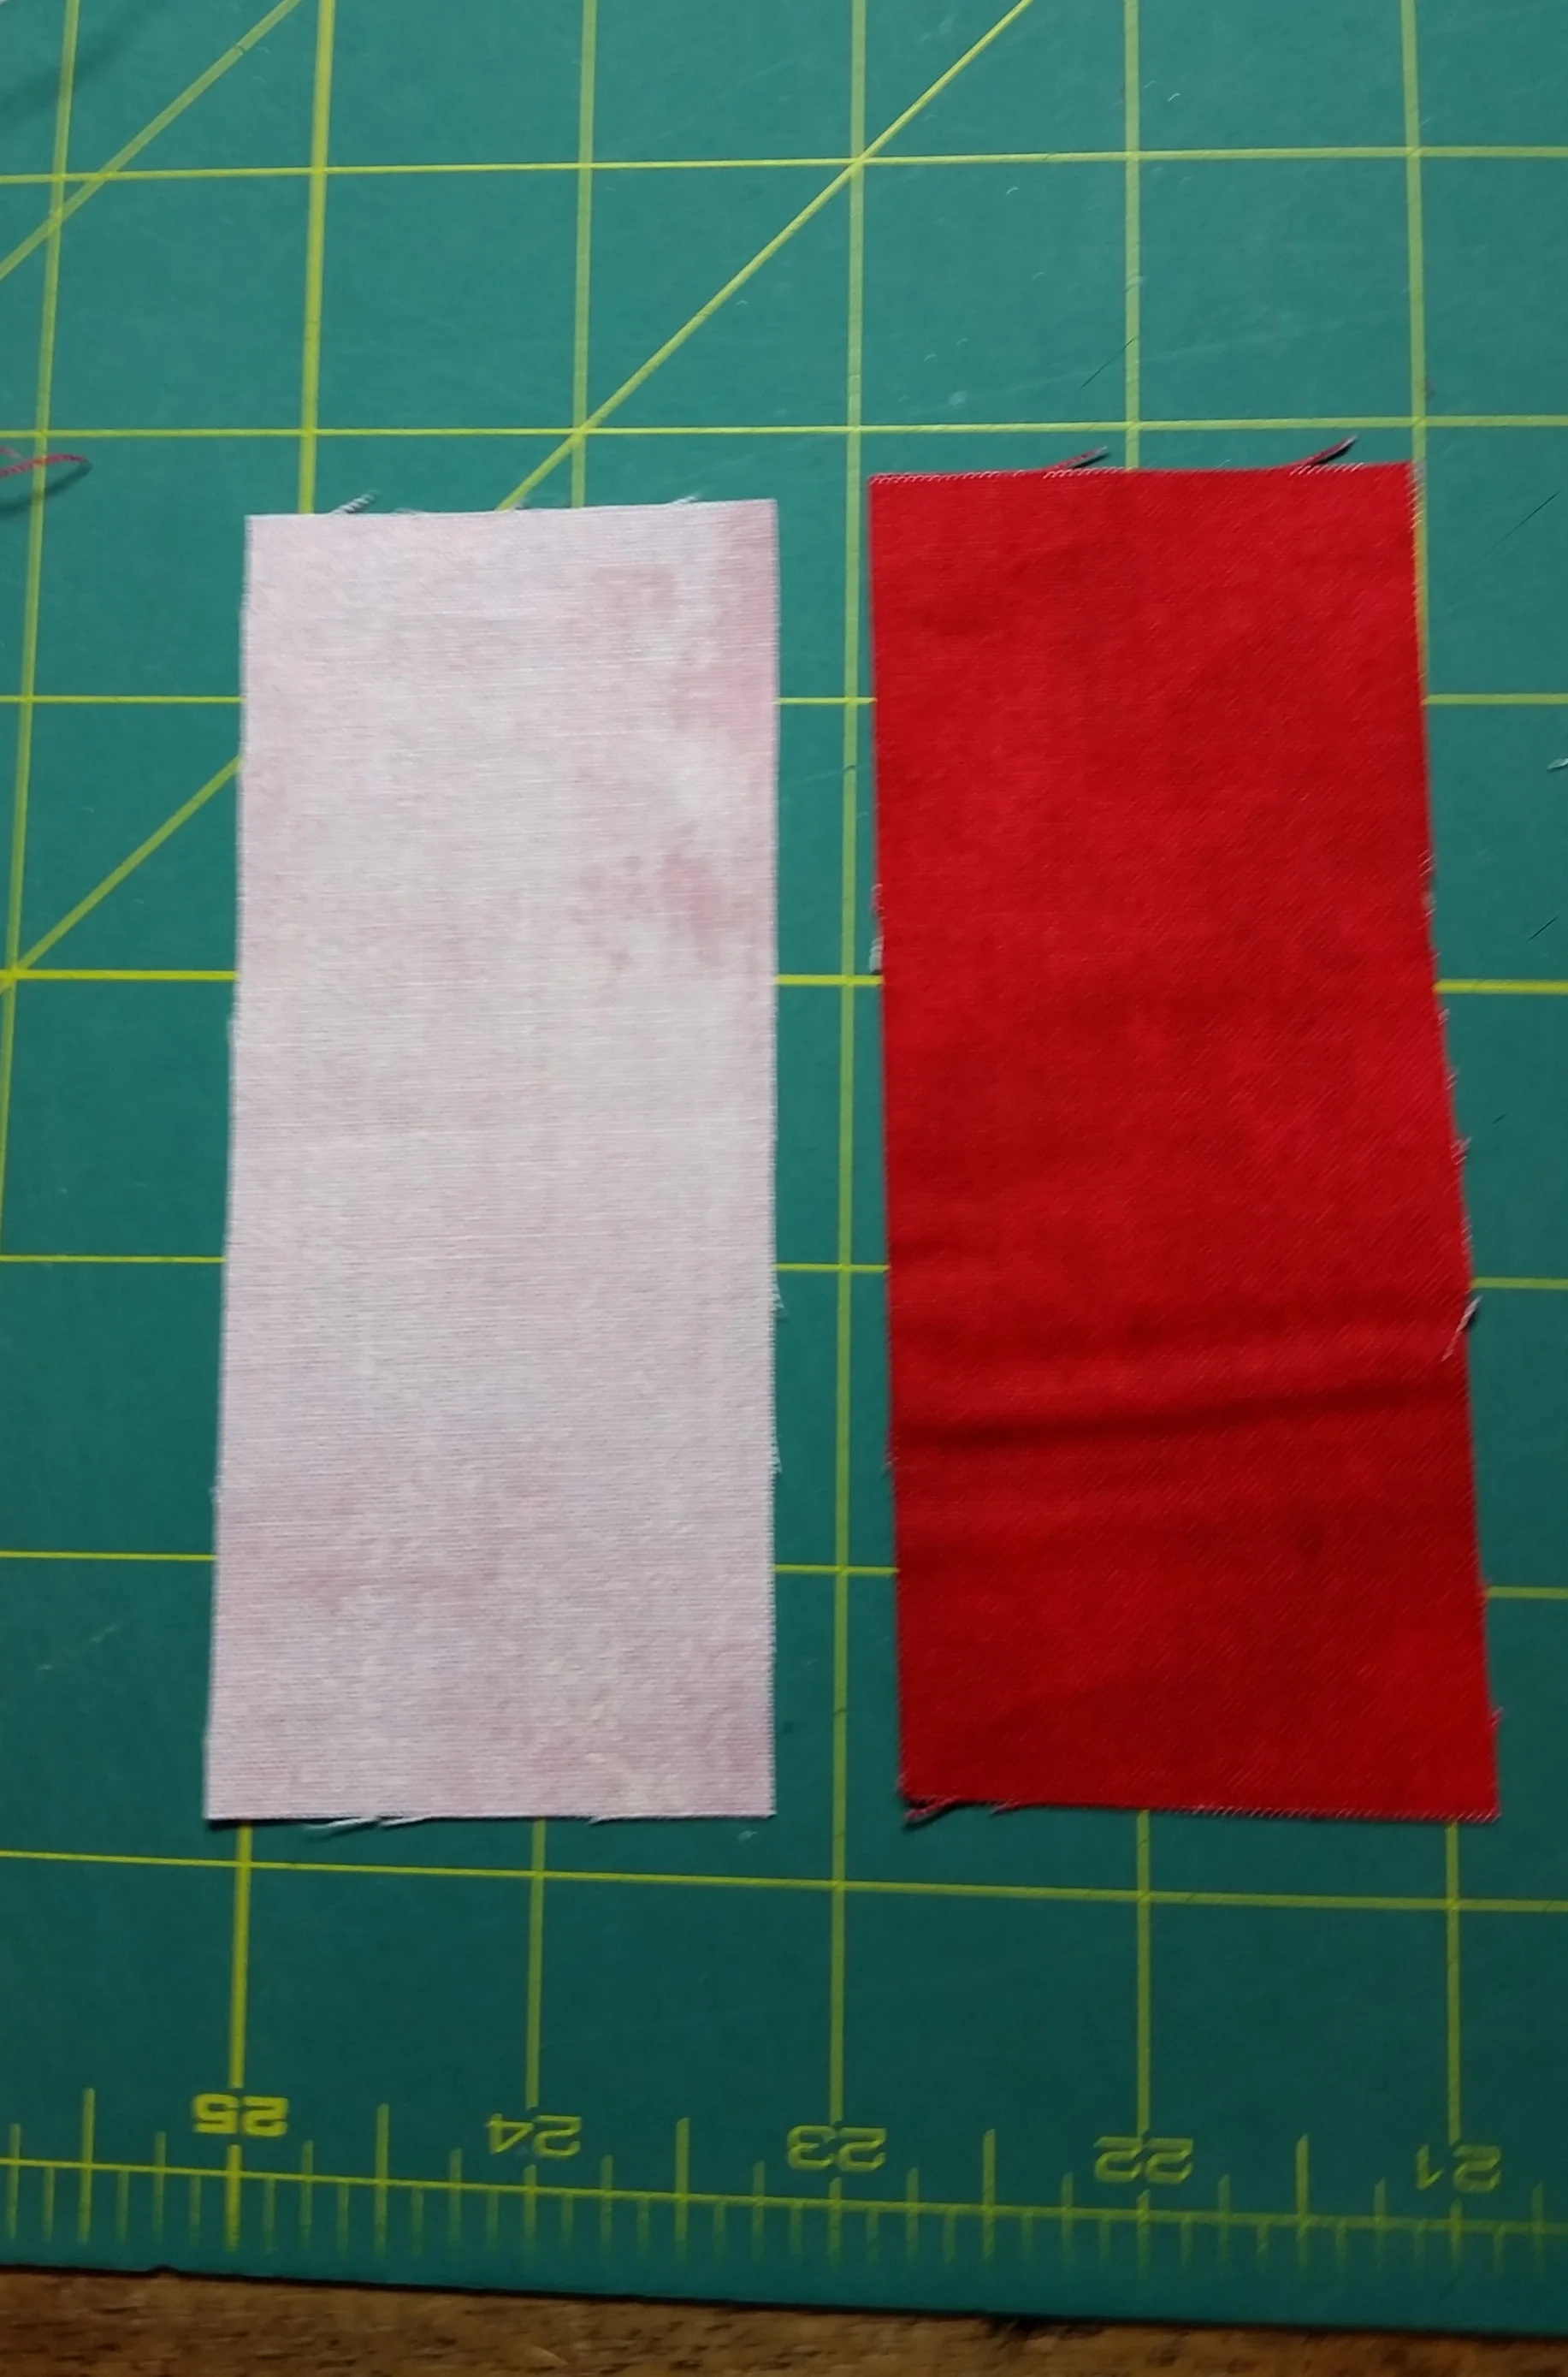
Cut strips 4 1/2" long. Use with 2 1/2" squares (Moda Candy squares work great) to create scrappy Flying Geese blocks.
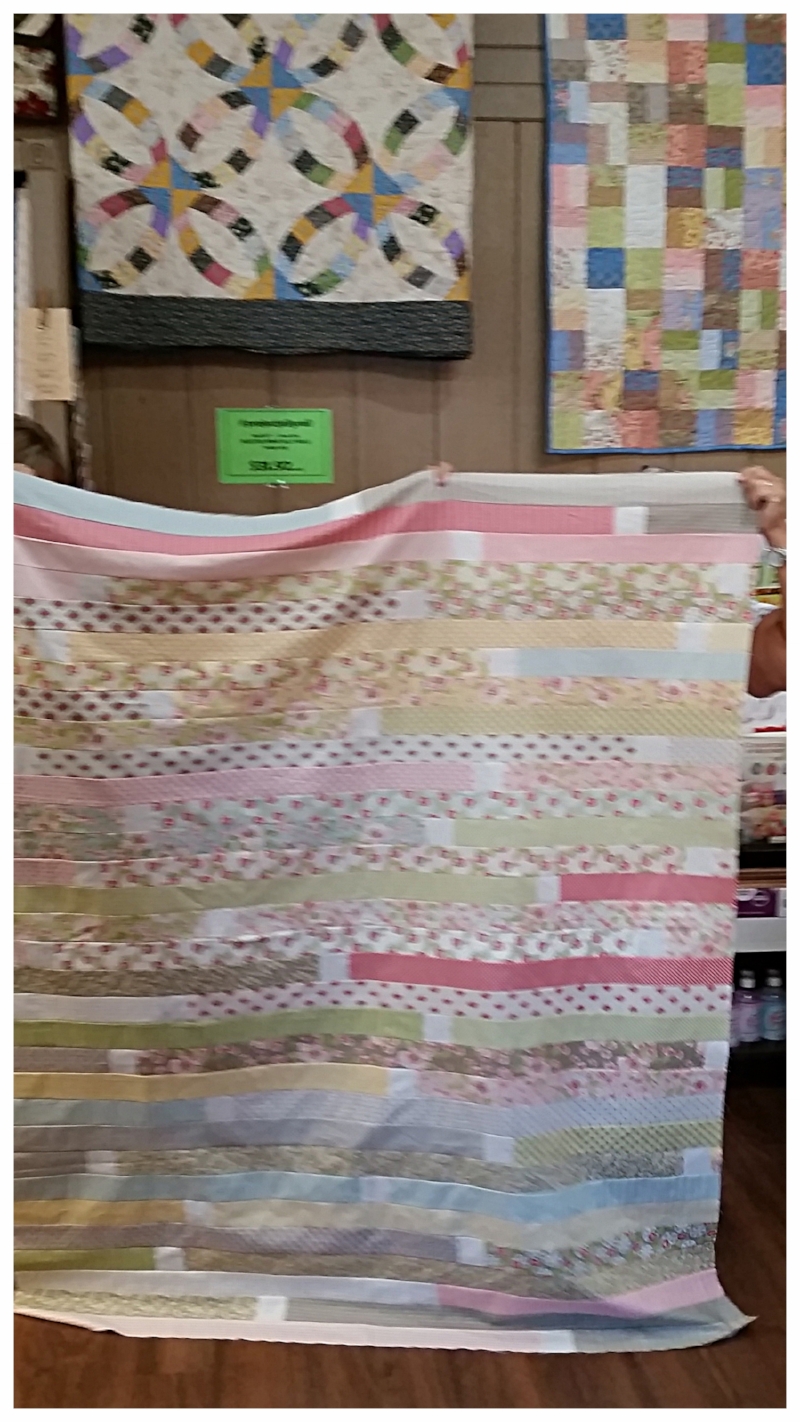
Sew strips together for a scrappy back.
Make "framed" 9-patch blocks (1 Jelly Roll strip is enough to frame a 6" finished 9-patch.
Make a "coins" quilt using left over Jelly Roll pieces.
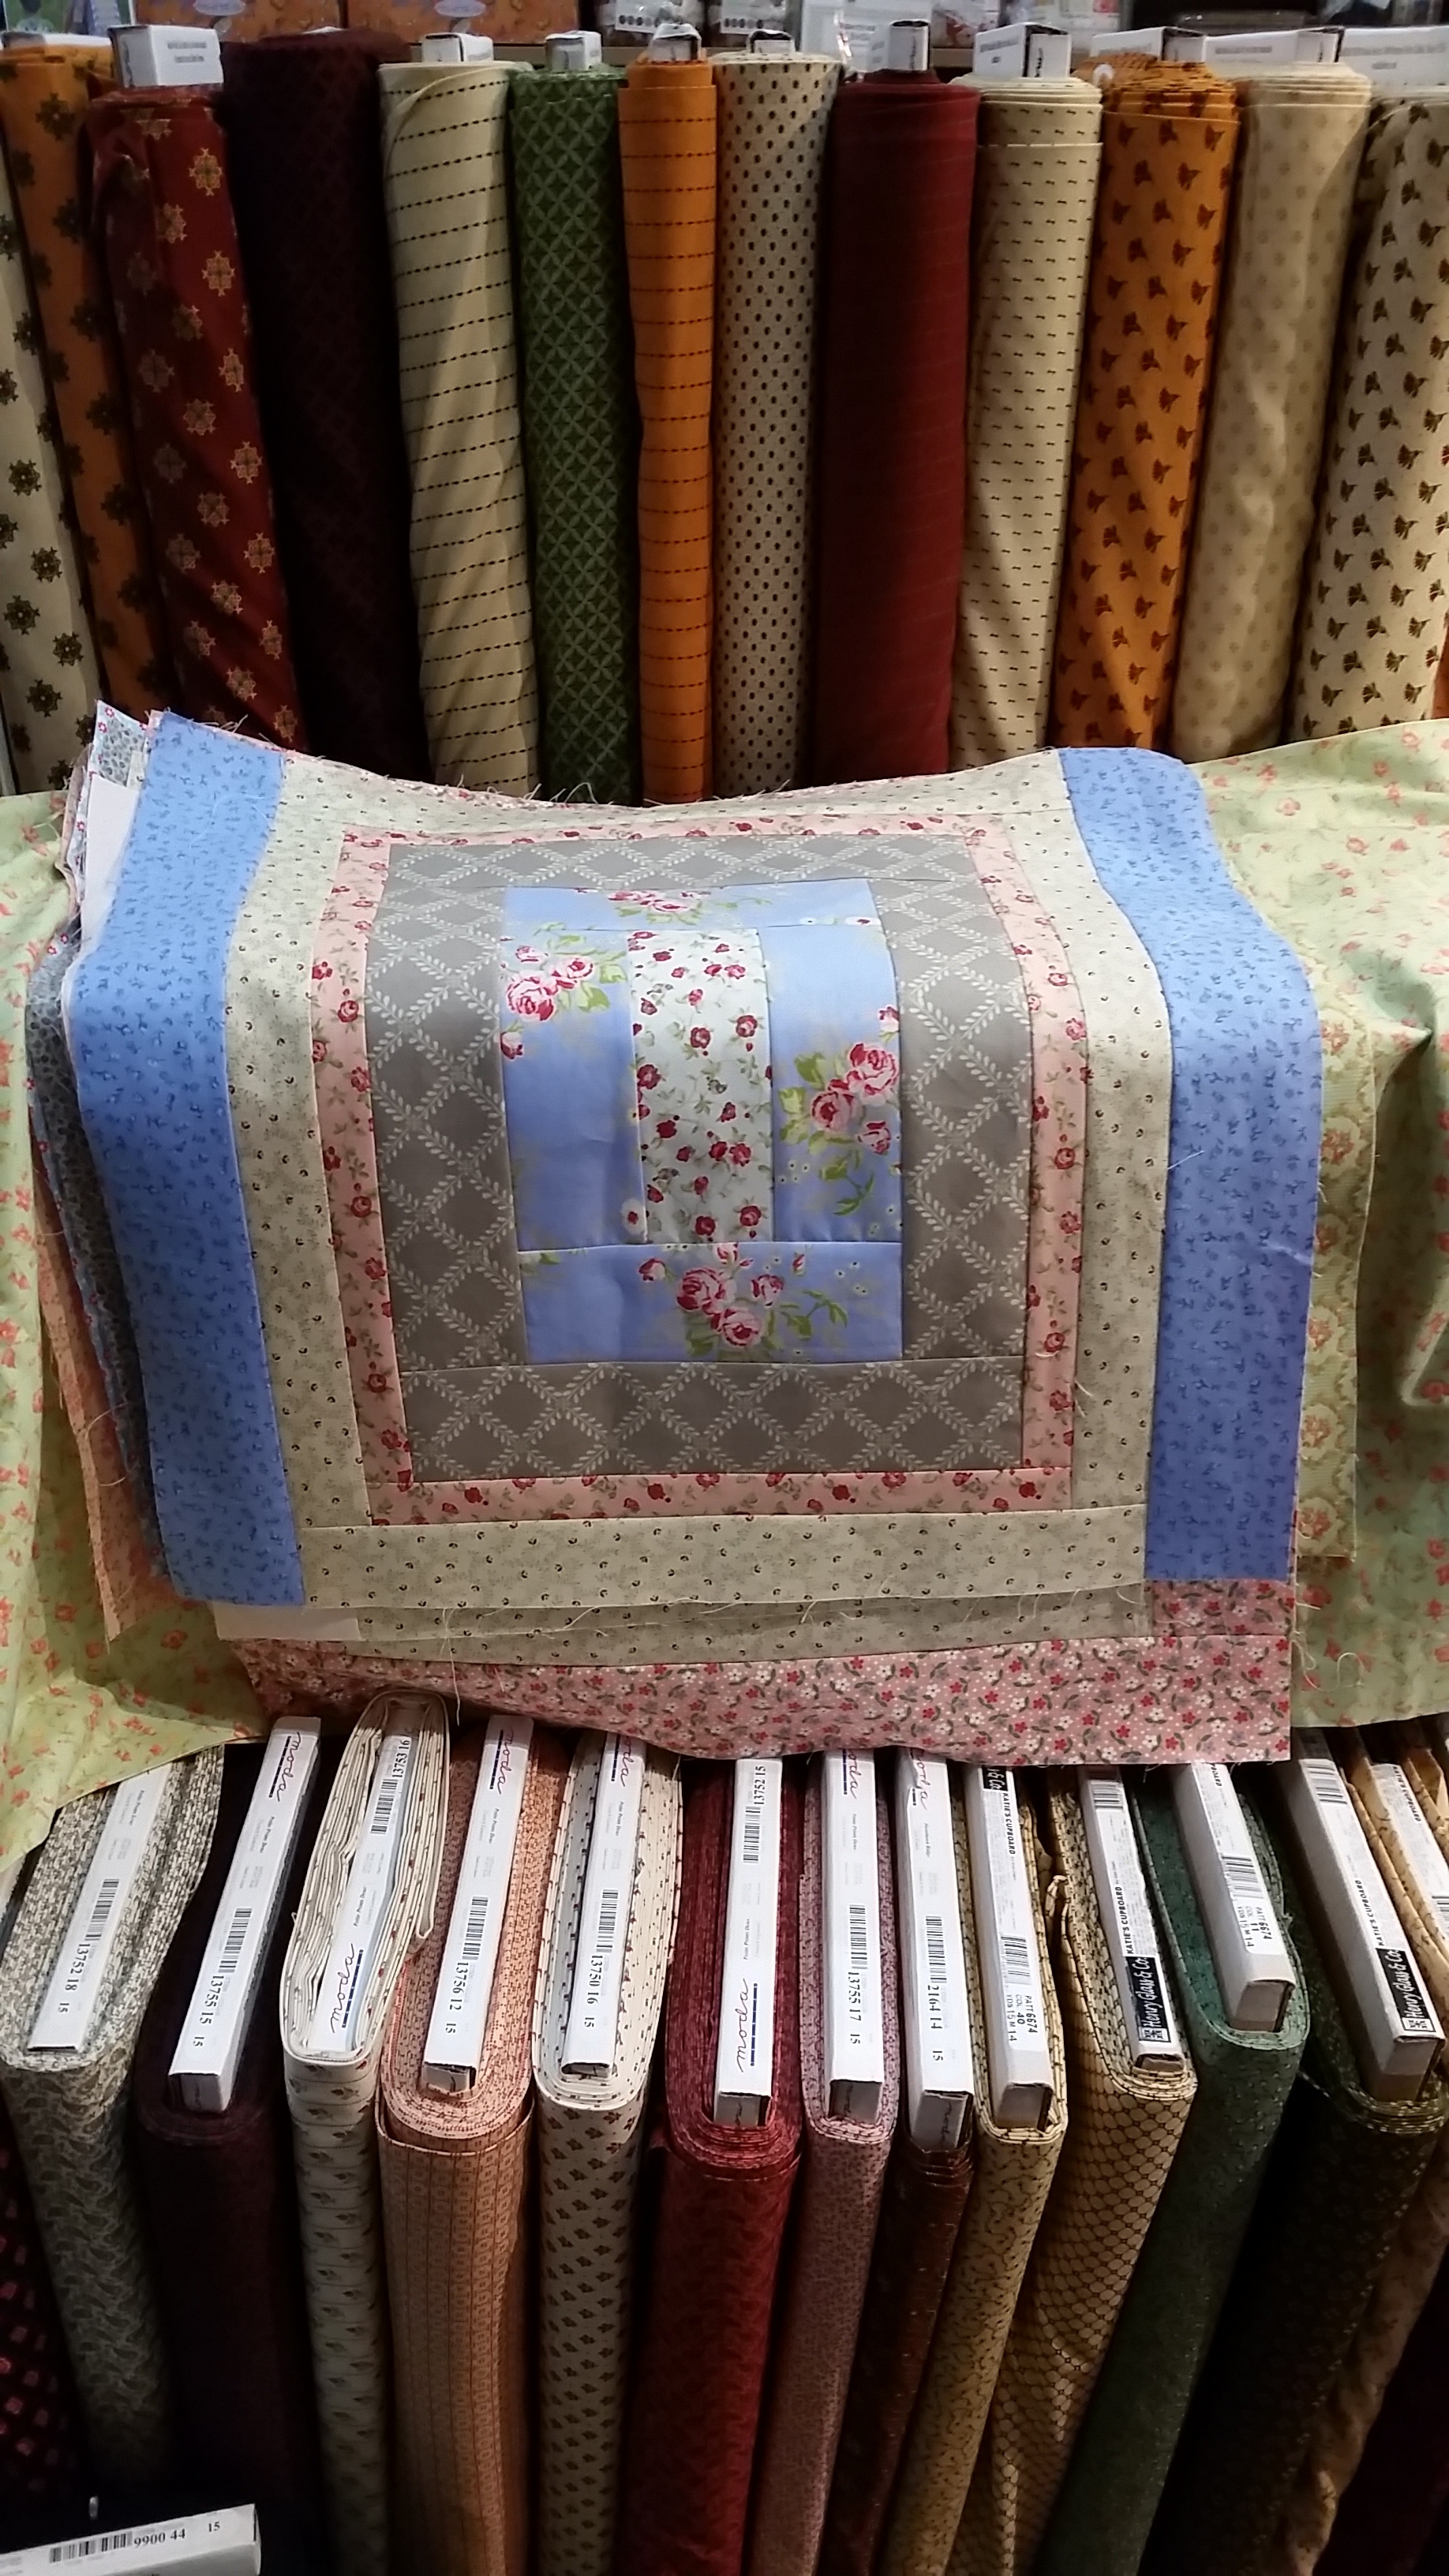
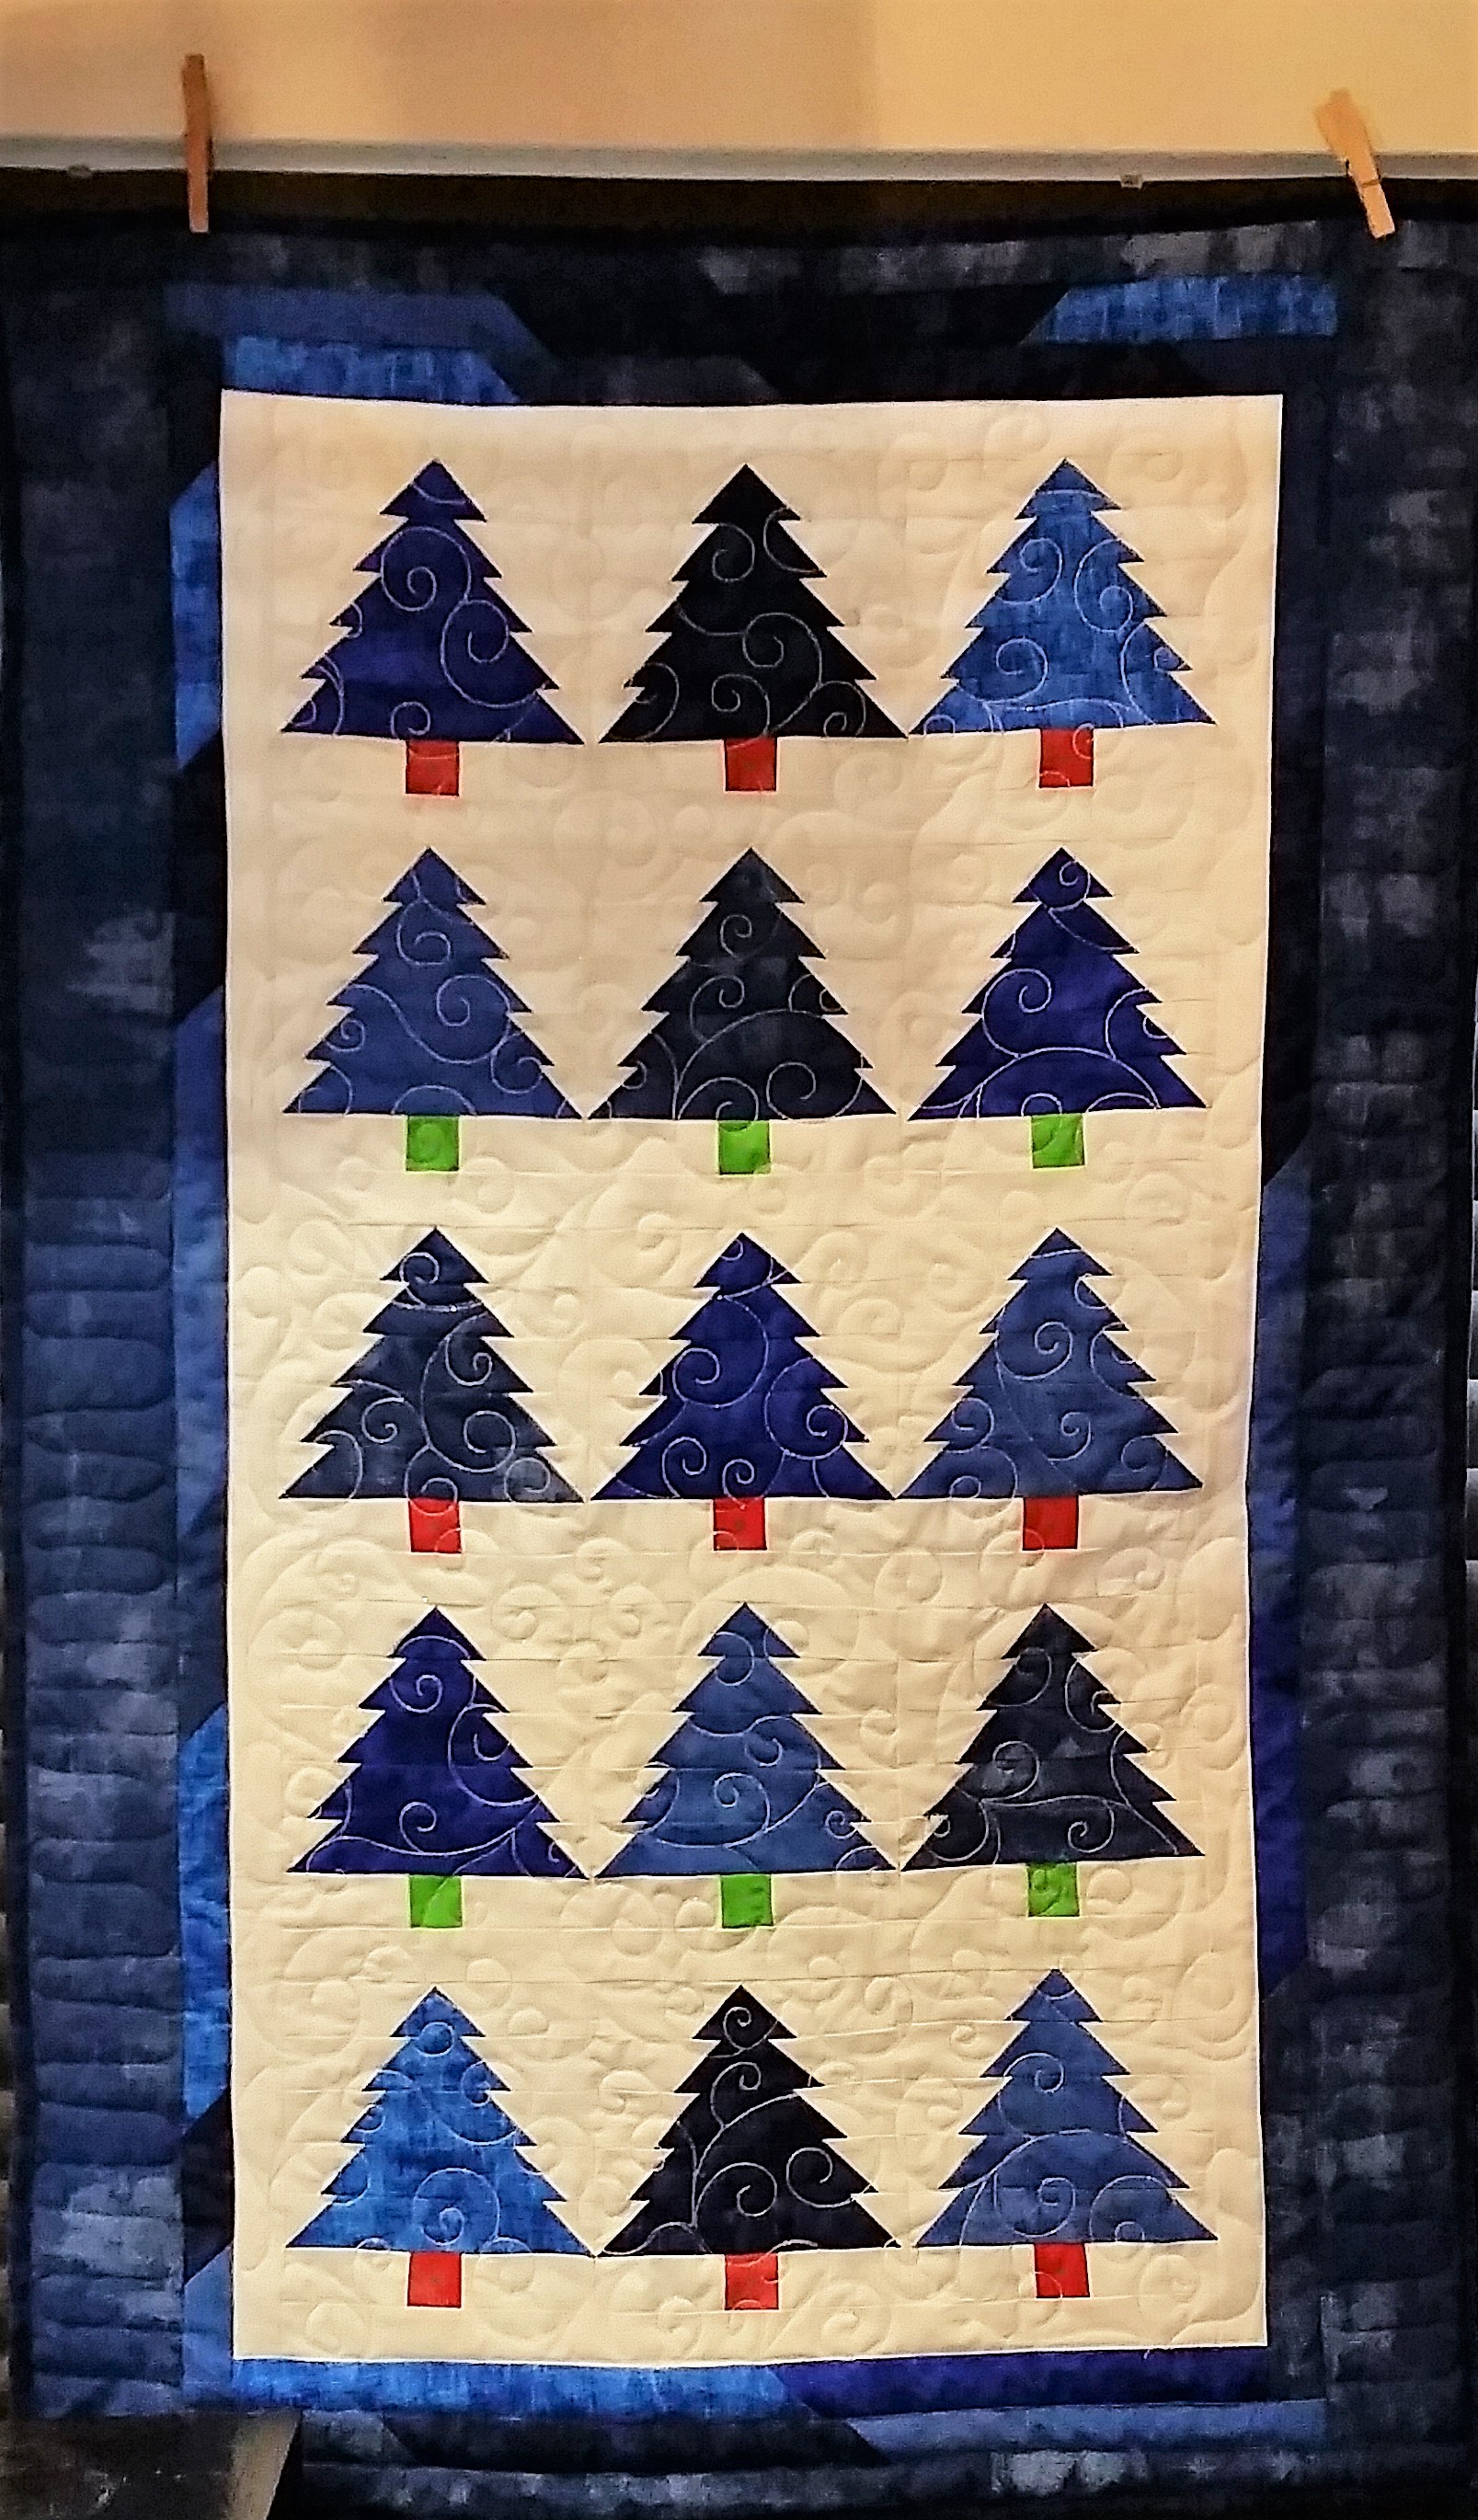
Make Log Cabin blocks.
Make piano key borders for a scrappy quilt.
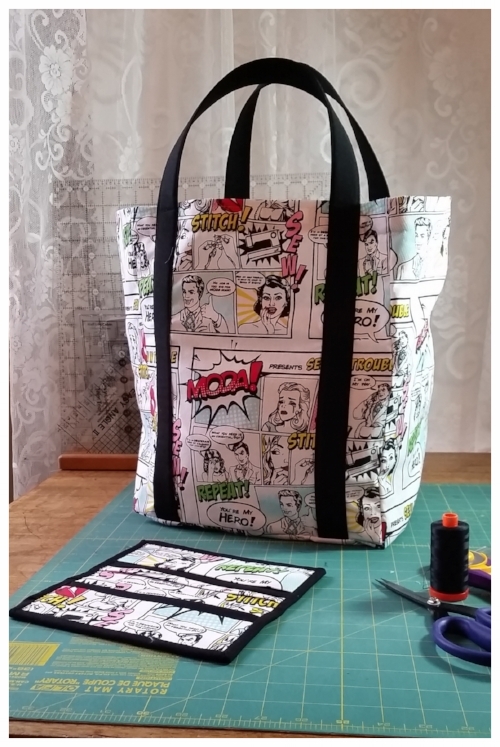
Make kitchen accessories: pot holders, place mats, mug rugs, or coasters.
Make scrappy binding by cutting Jelly Roll strips into fourths and then sewing together as many pieces as needed for the length desired.
___________________________ Fill in # 11 with your own amazing JELLY ROLL TIP . Please enter your tip by commenting below:
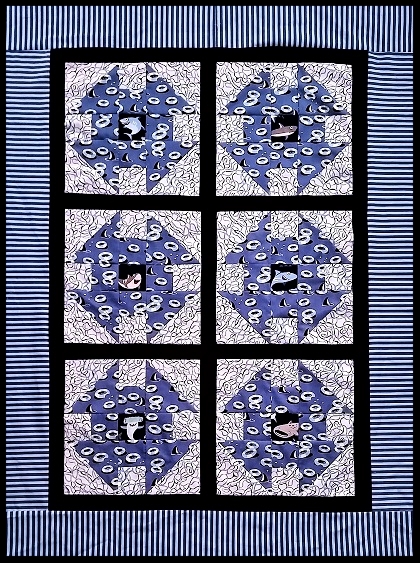
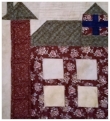
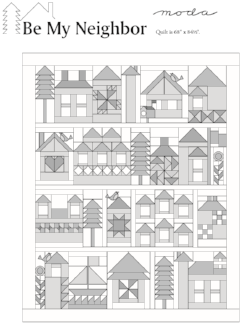
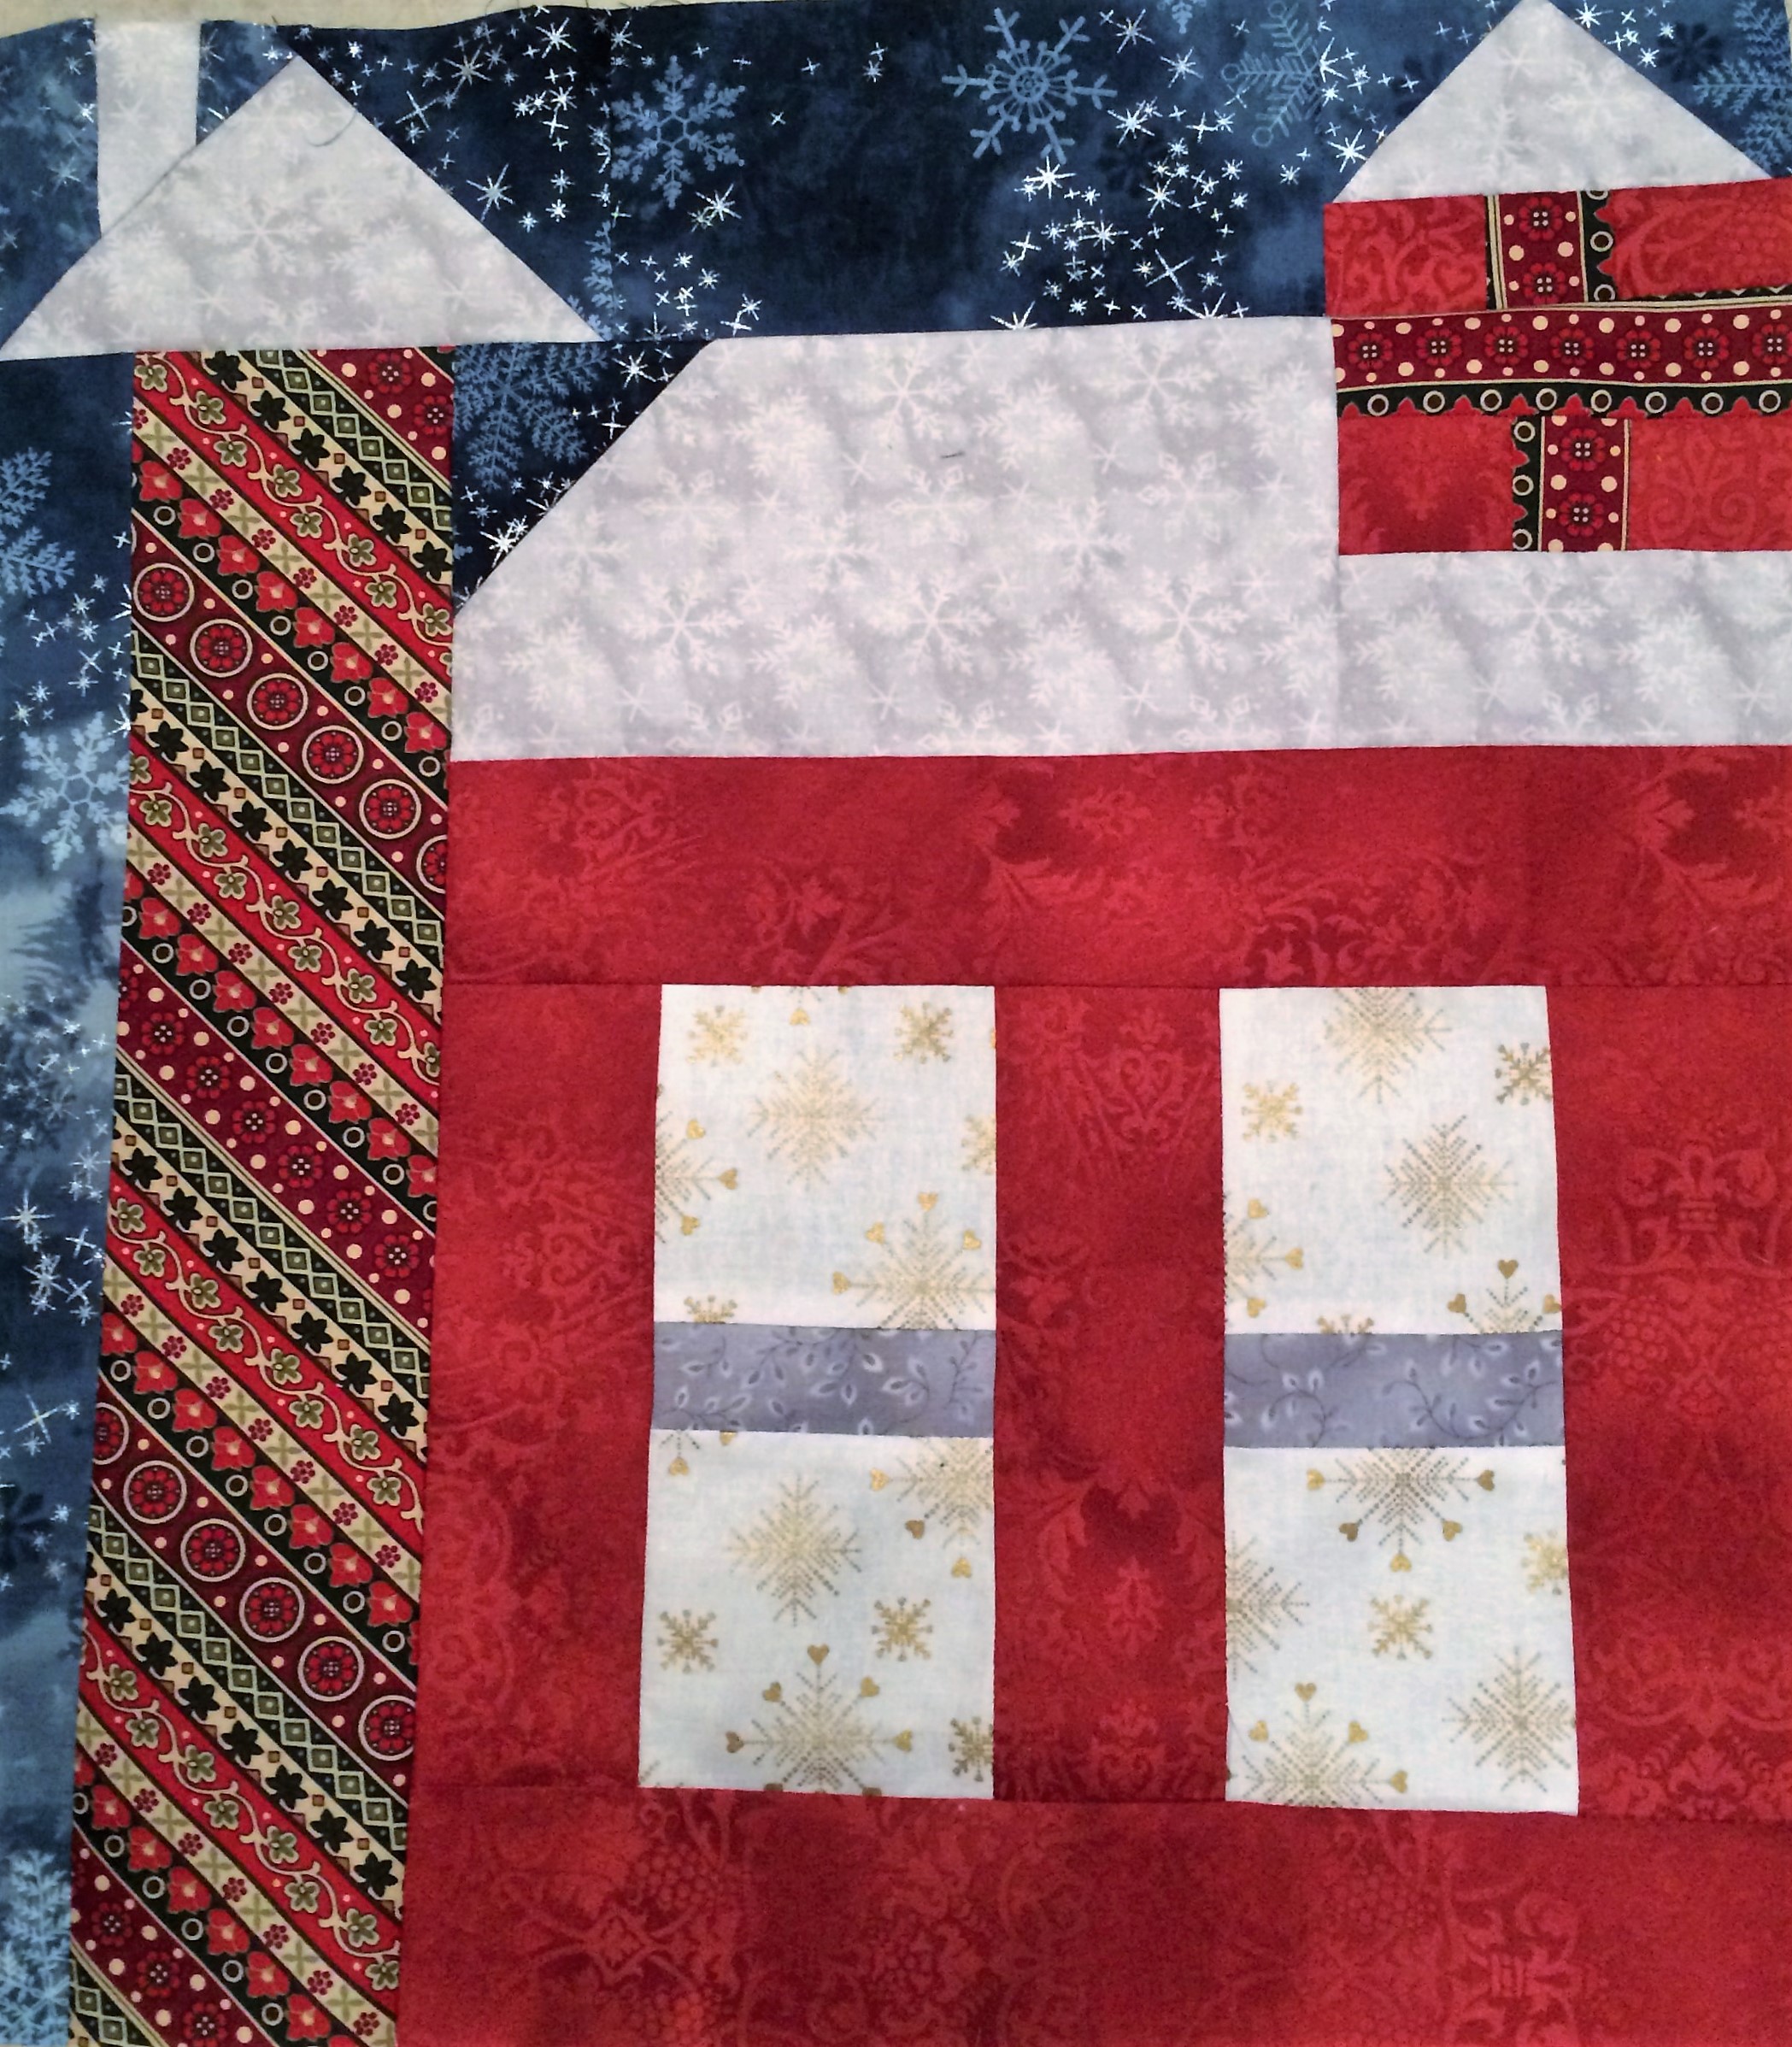
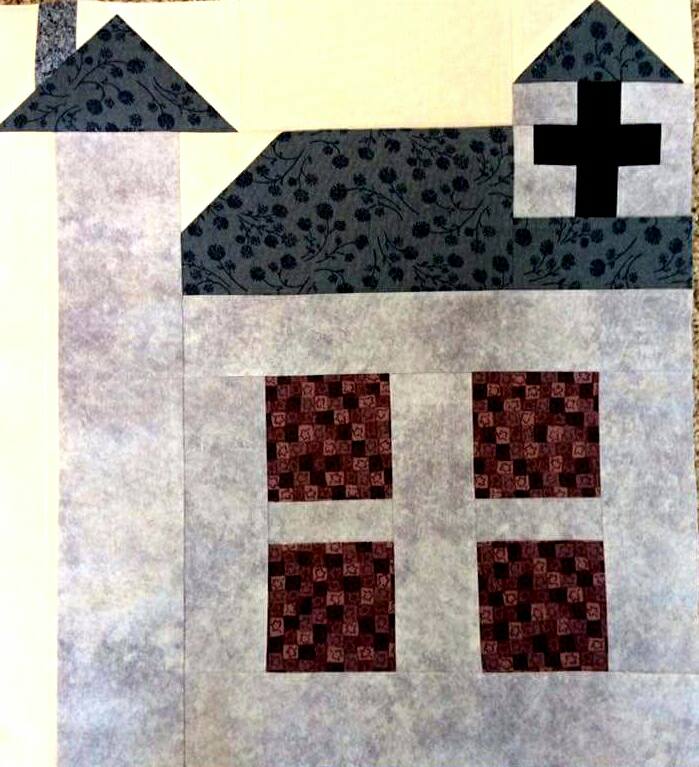
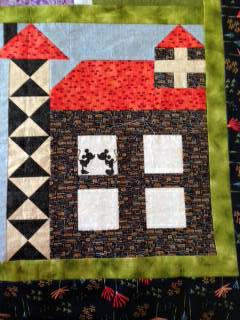
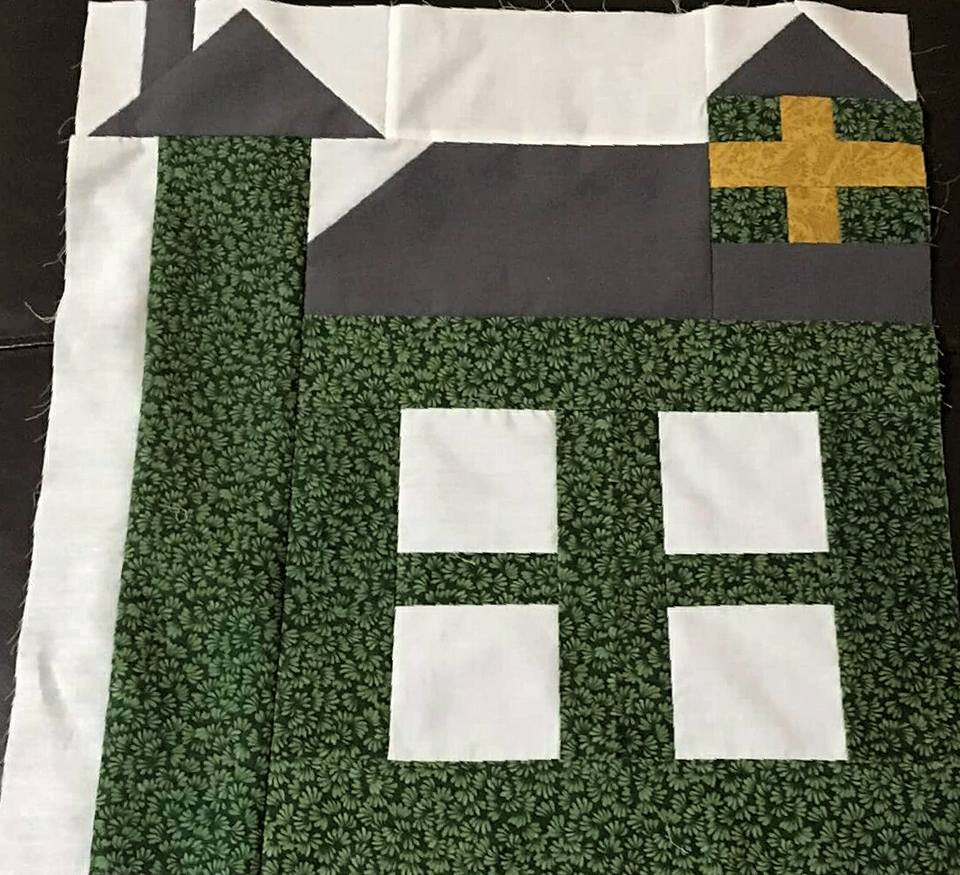
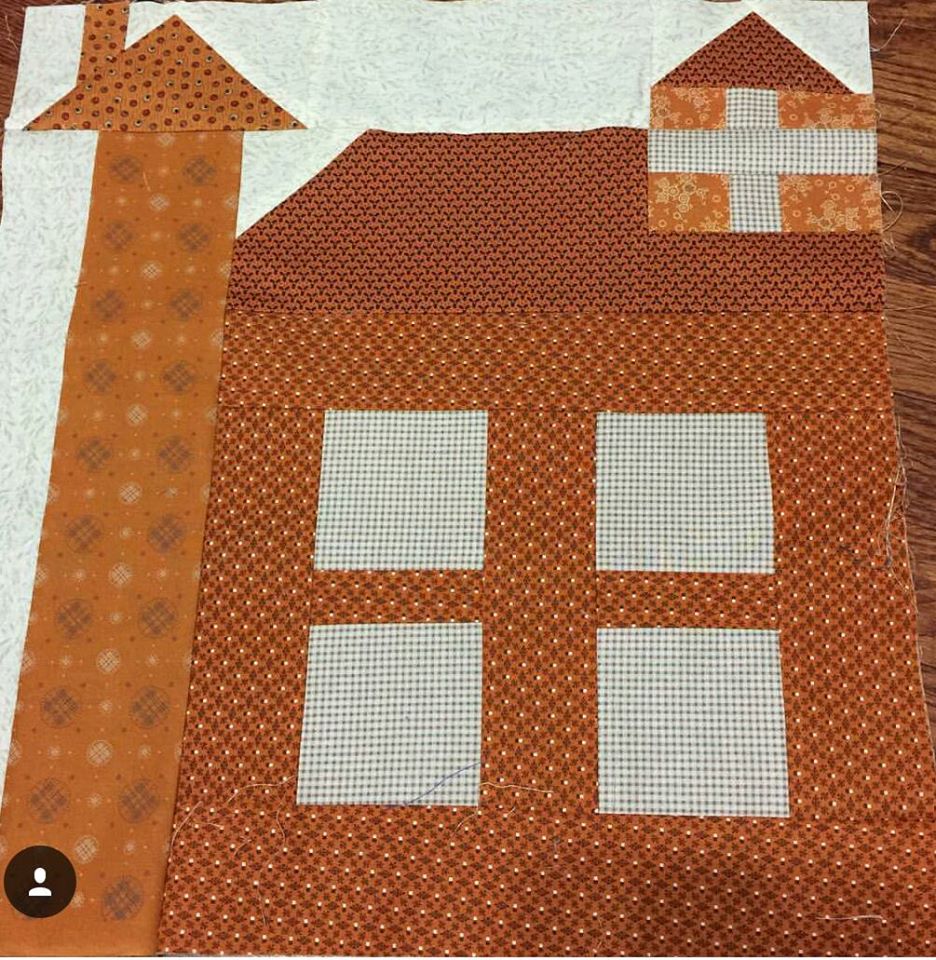
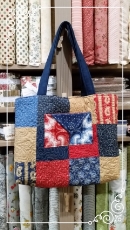
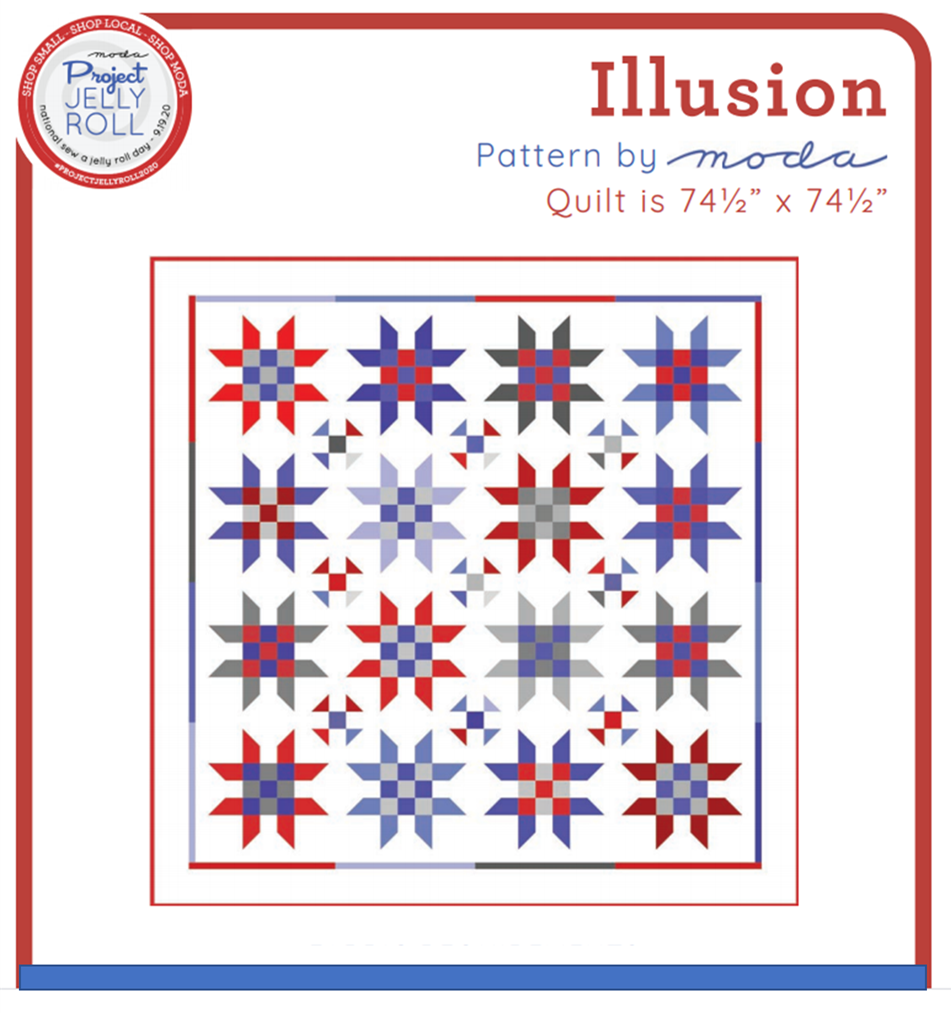
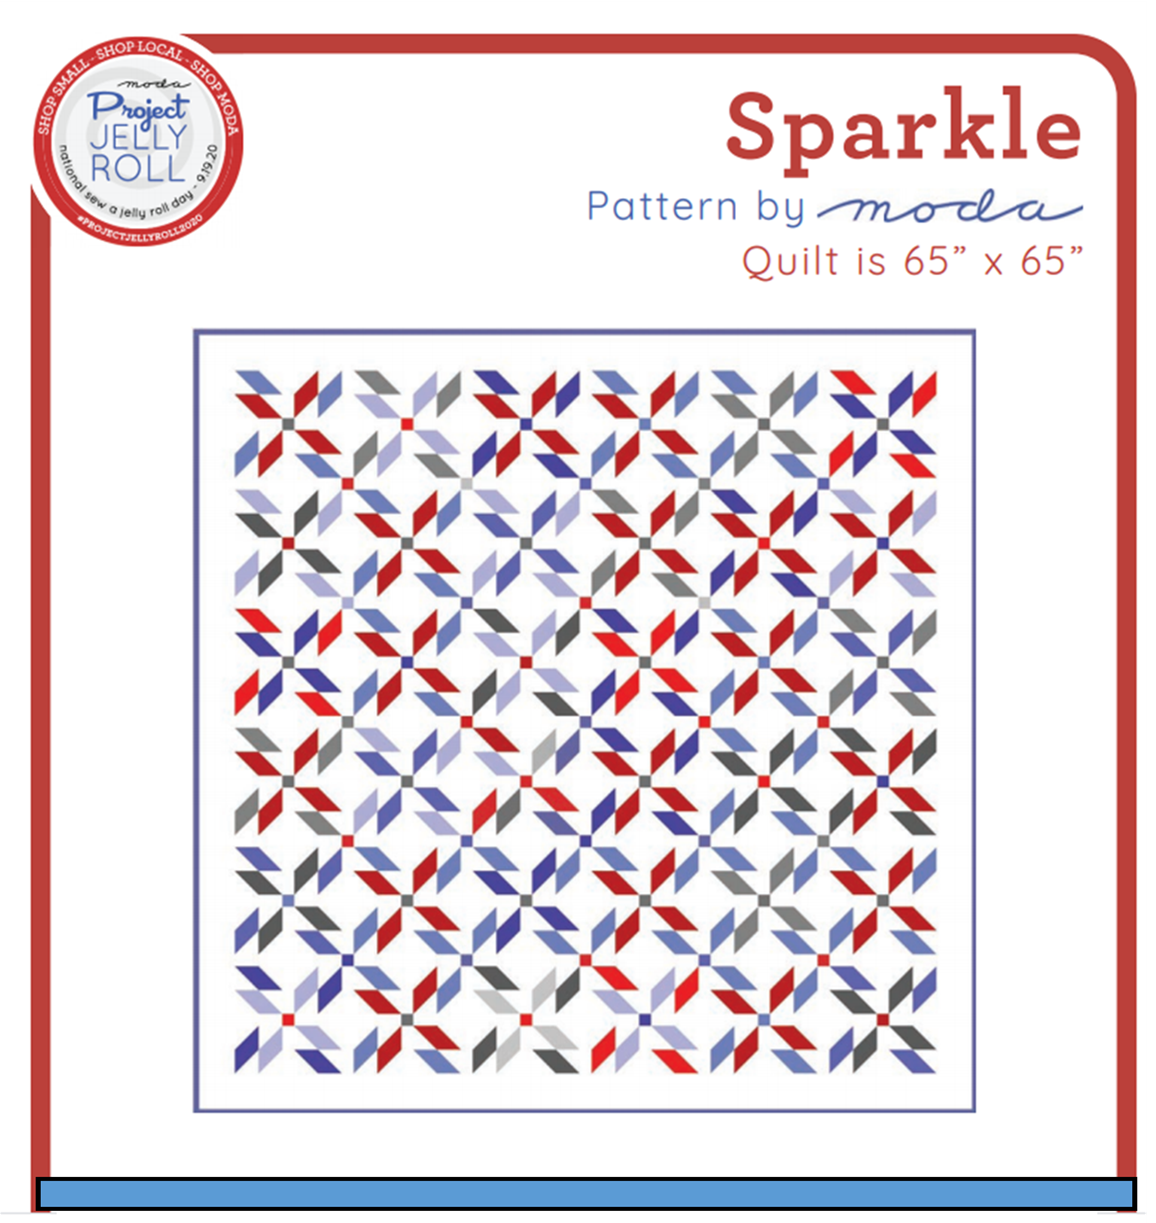
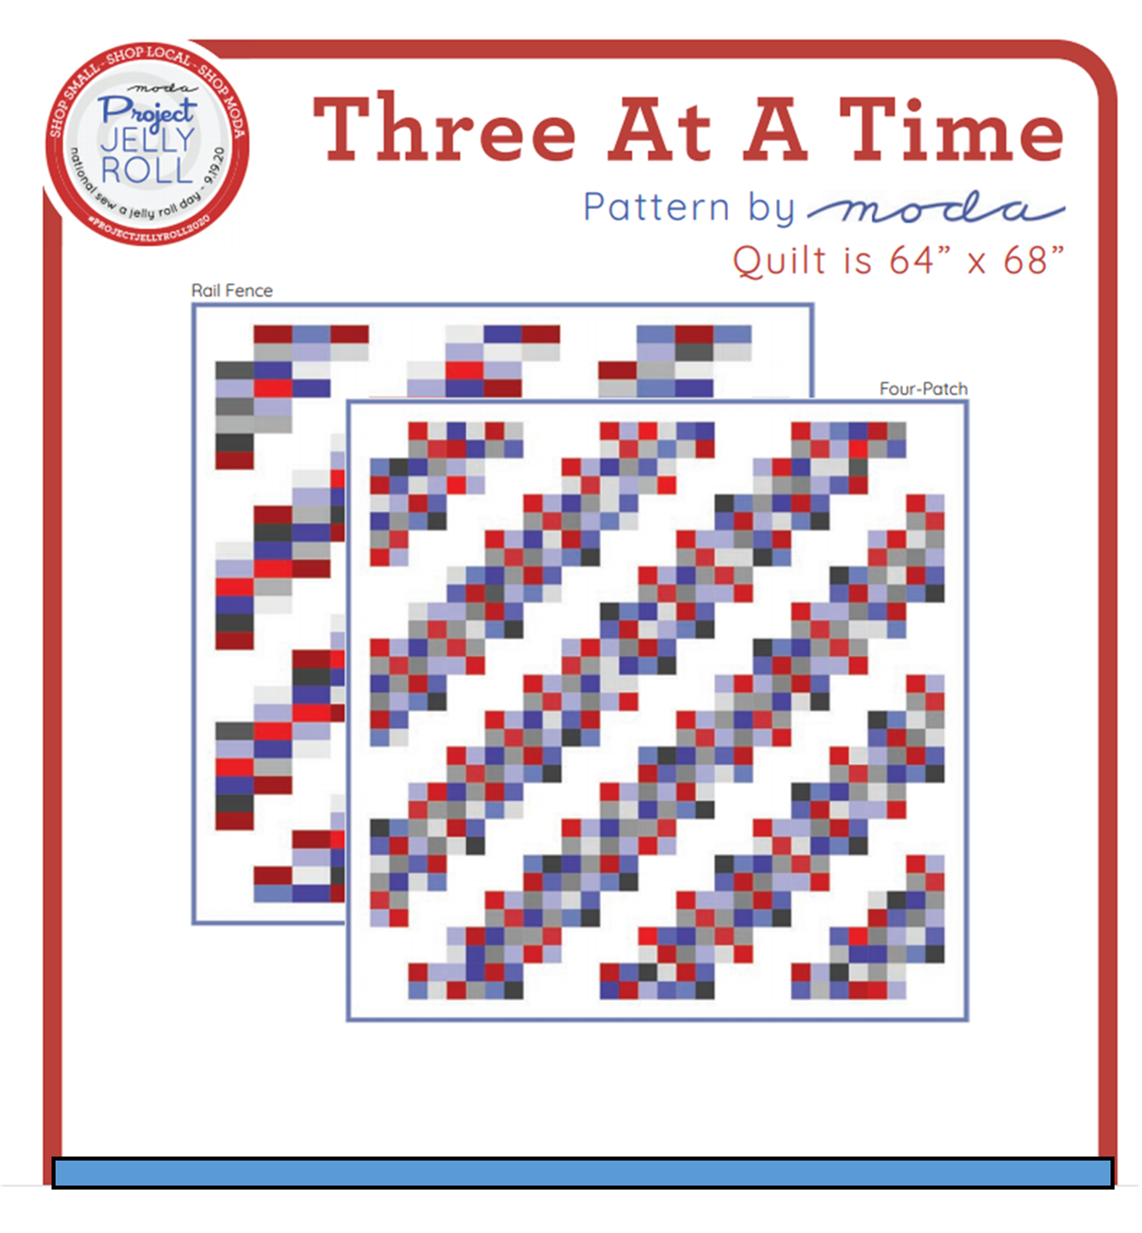
#PROJECTJELLYROLL2020 PATTERNS
(click on each to download your FREE pattern)

And
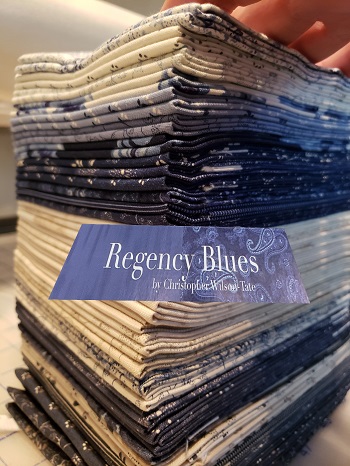
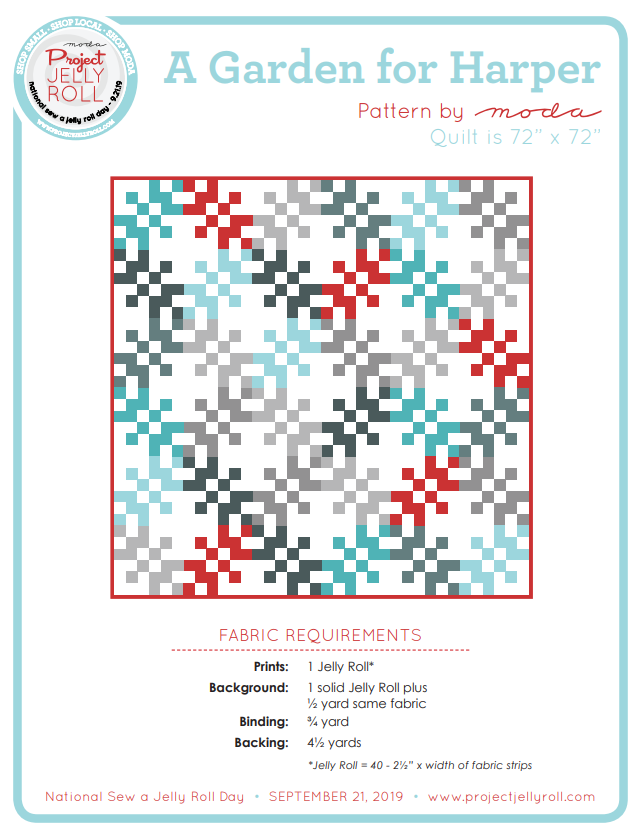
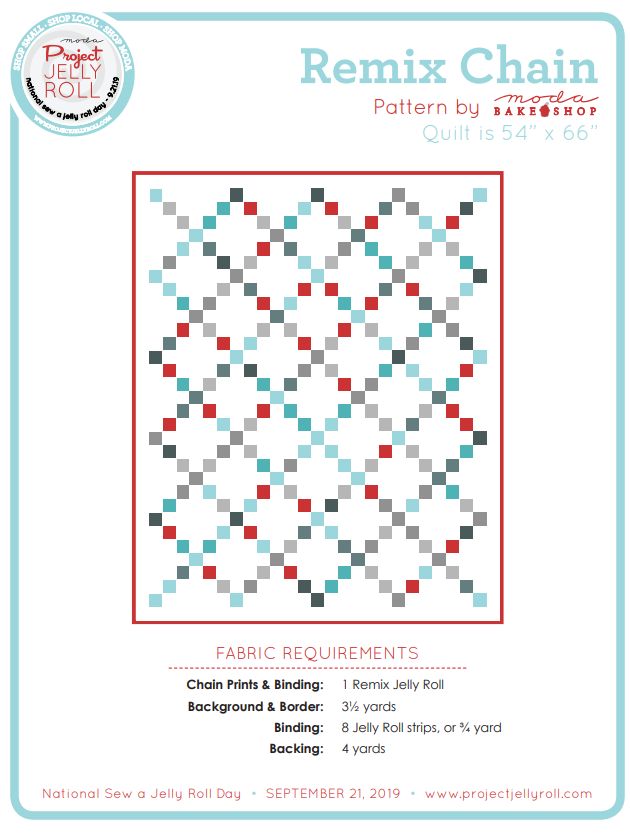
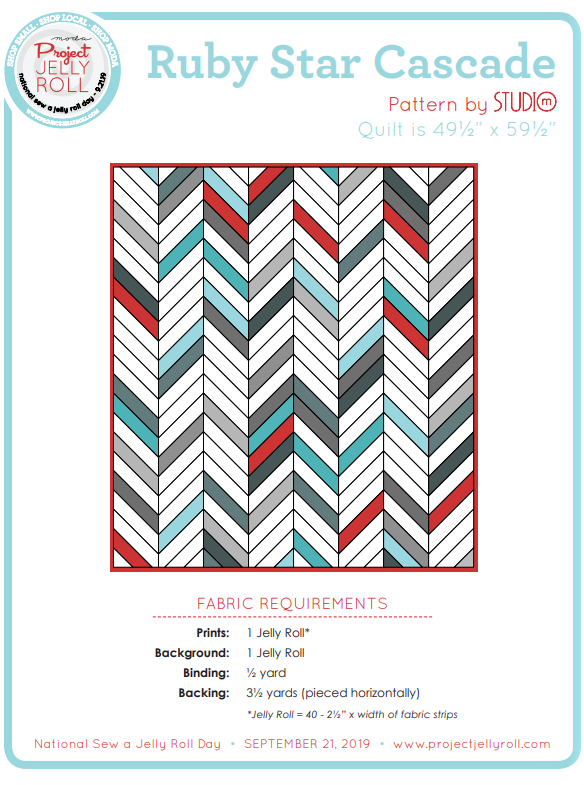
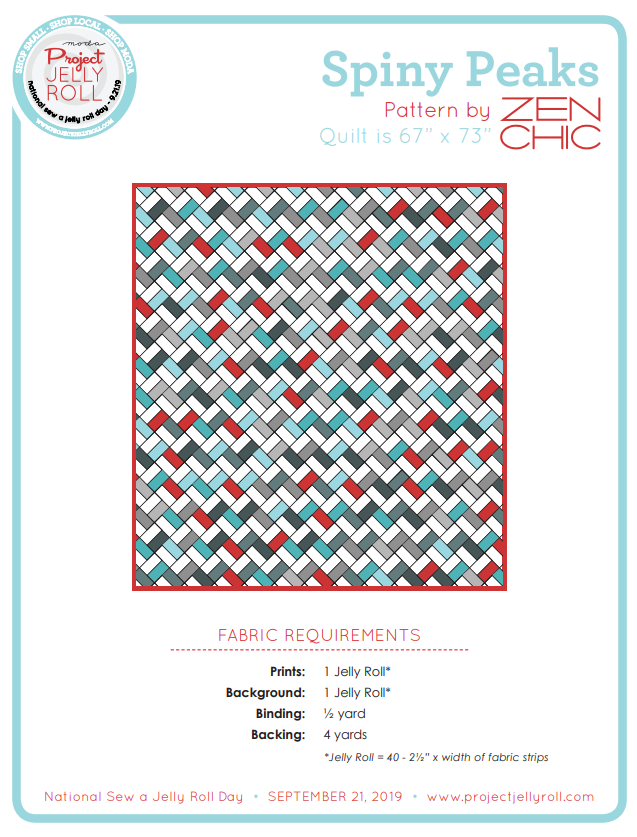
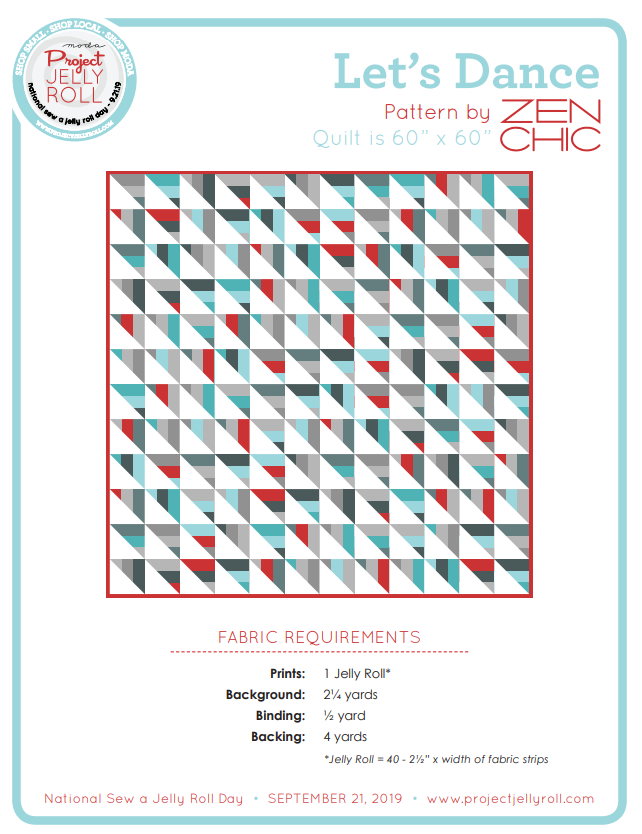
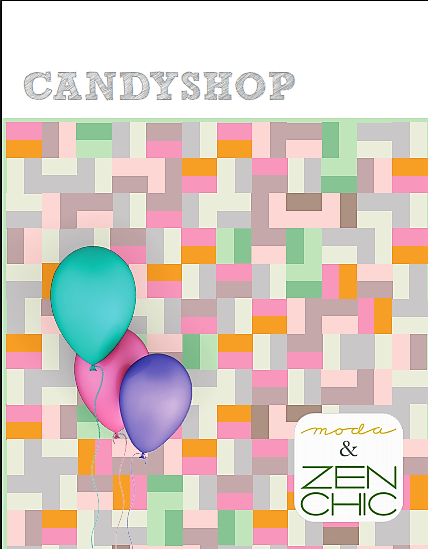
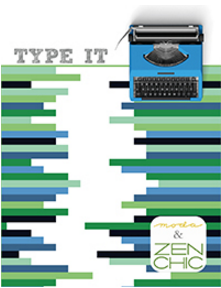
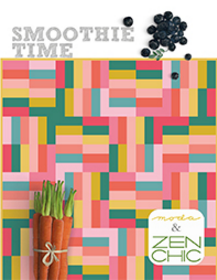
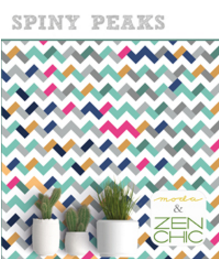
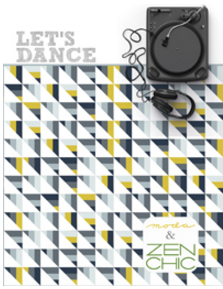
HERE ARE THE FREE PATTERNS FROM 2019
(In case you missed them last September)
( courtesy of zen chic, ruby star society and Moda fabrics )
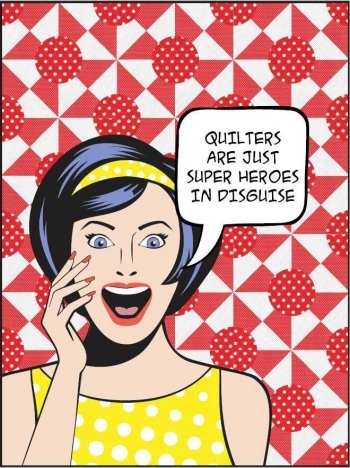
HOO-RAY!
5 new and re-mixed designs for 2019
The 6 iconic patterns from 2018 (in case you missed ‘em)

Post pictures of any Jelly Roll projects you are working on (or even the ones that you finish ) on Facebook , Instagram, Twitter. Use the #projectjellyroll2020 to share your fun with everyone who enjoys a Moda Jelly Roll.

Love a Jelly Roll? If you are hungry for more Jelly Roll goodness be sure and visit ModaBakeShop.com
Lots of jelly roll patterns there, all free for you to enjoy.
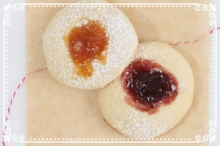
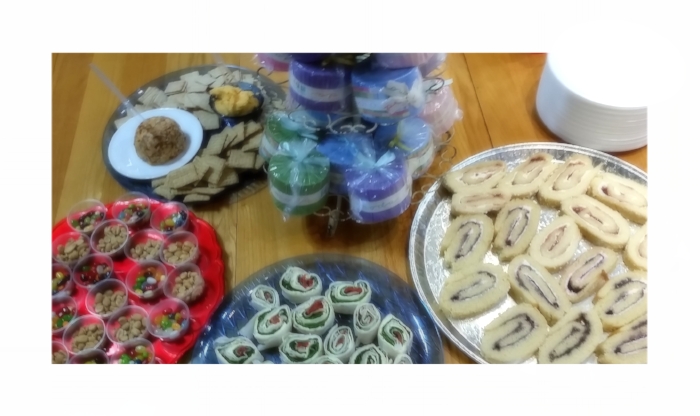
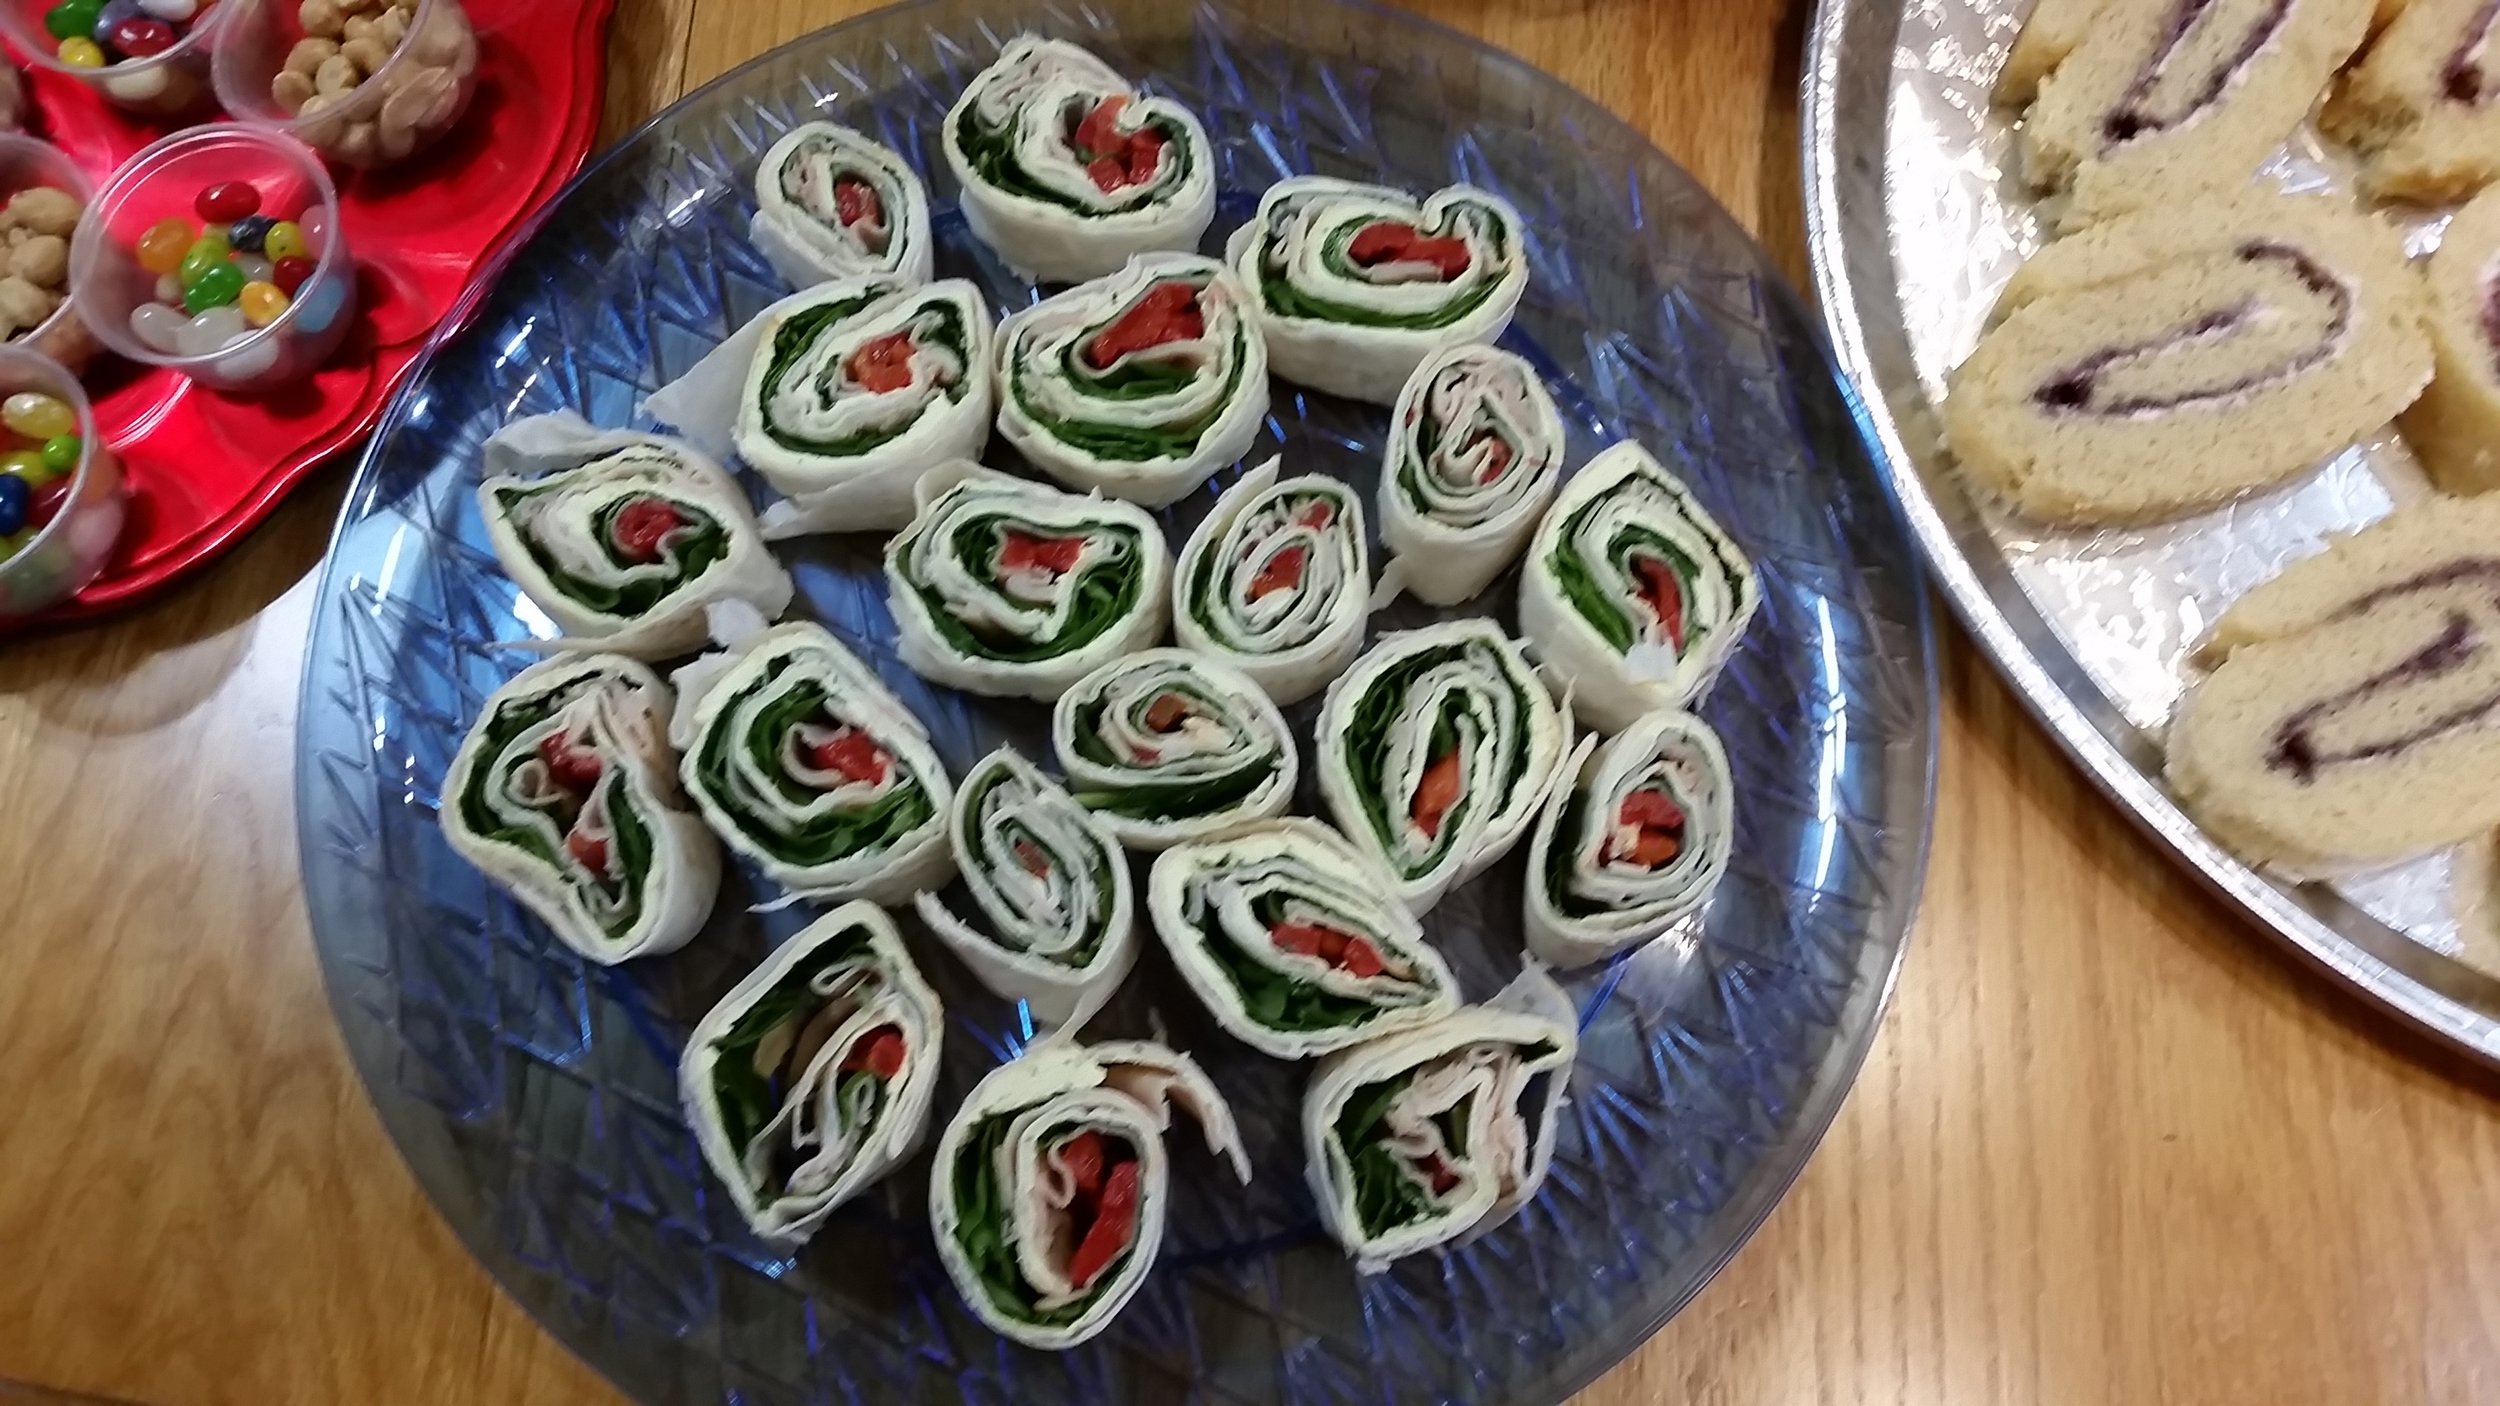
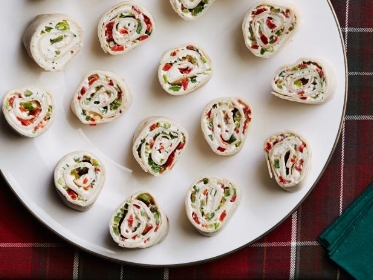
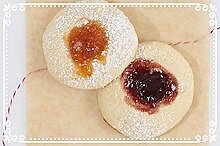
We shared some yummy Jelly Roll themed snacks here at the quilt shop on previous Jelly Roll Days. Something so yummy bears repeating. Here they are for you to make and enjoy.


Thanks so much for your participation in the the big JR day, and thank you for reading my blog . Share comments below. Until we blog again, please take some time out to Enjoy the Sew!®
-Carol
Coming soon………..

Starts on October 1st

Stitch along with us here on the RCQ blog starting on October 1st. Free sampler block patterns will be available as downloads each day. Stitch Pink, stitch scrappy, or choose another fabric collection, any which way, it’s all fun for you from Moda Fabrics! Subscribe to our blog below to get updates.
If you would like to receive an email when a new blog post is published you can sign up below: