No lines to draw, no specialty rulers needed.
Learn to make a Quarter Square Triangle unit (QST from here on out) using any regular quilting ruler. There is nothing new under the sun (my Grandma used to say) and its true. This is not new , nor did I ‘invent’ this way of a making a quarter square triangle. I am sharing it here because someone asked me to, AND for anyone who hasn’t seen it before or doesn’t have a special ruler just for making QSTs. True story: I do love my specialty rulers, paper triangles and any gadget you could conceive to make a quilt. if you do as well , please enjoy using those whenever it pleases you. Spending my days in a a quilt shop, I probably have used and enjoyed every ruler that was ever shown to me. A long time quilting partner refers t me as a ‘gadget getter’ . But we don’t always need a gadget. Just a girl and her fabric having fun any which way it makes her happy. There are many special rulers available that will aid in the making of quarter square triangles. There are also MANY resources, videos and tutorials for QSTs on the internet. What follows is only one of many ways you might choose. Scroll on to see the steps to do it with any regular quilting ruler and….no lines to draw either. It’s mostly pictures and wont take long to absorb.

Happy Halloween to all, enjoy the fall weather wherever you are.
For the block I am making, I want to end up with a QST that is 4” finished (so 4 1/2” unfinished) First I’ll cut two 5 1/2” squares.
You may need to make other sizes? The starting squares should be cut 1 1/2” larger than you want your FINISHED QST to be.
I need mine to be 4” finished , So I’ll start with two 5 1/2” squares.

TWO 5 1/2” squares

Stack squares and cut on the diagonal twice.

Now each square has been cut into 4 triangles

Arrange your triangles alternating colors as you need.

Stitch, right sides together, using a 1/4” seam allowance.

Press seam allowances towards the darker fabric as you work.

Square up edges (if needed).

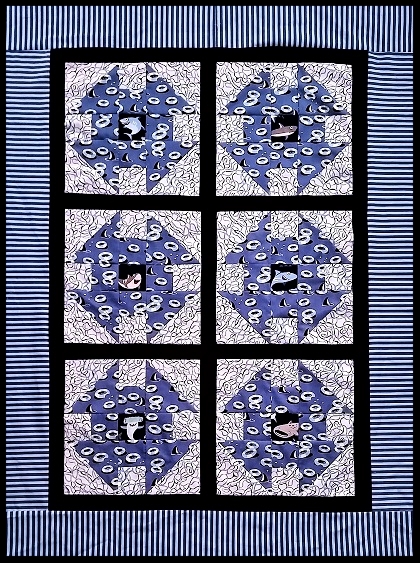
Ready to go into your quilt block! ☺ This fabric is MIDNIGHT MAGIC from April Rosenthal.
Thank you for reading our blog, until we blog again, be sure and take time out to Enjoy the Sew!