Save the date: SEPTEMBER 16. 2017
F3
#projectjellyroll
Plan to visit Rocking Chair Qullts, in store & online to be a part of National Sew a Jelly Roll Day and to experience F3
Wait, what?
What is F3 ?
Wait a minute - that looks like math.
F3= fabric + fun + food
(OK, that still looks like math , but I think I like this kind of math) ☺ read on.........

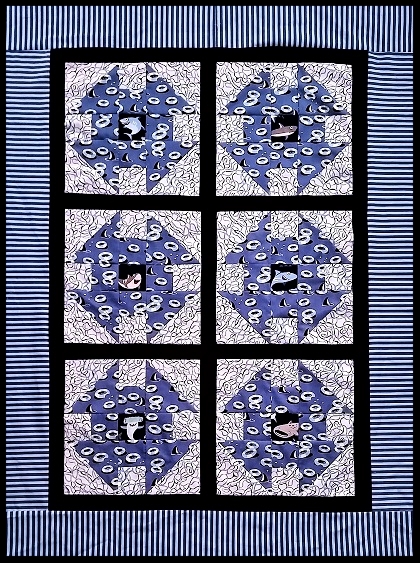
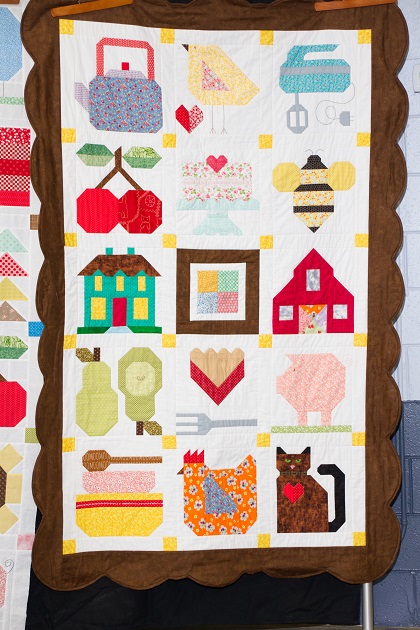
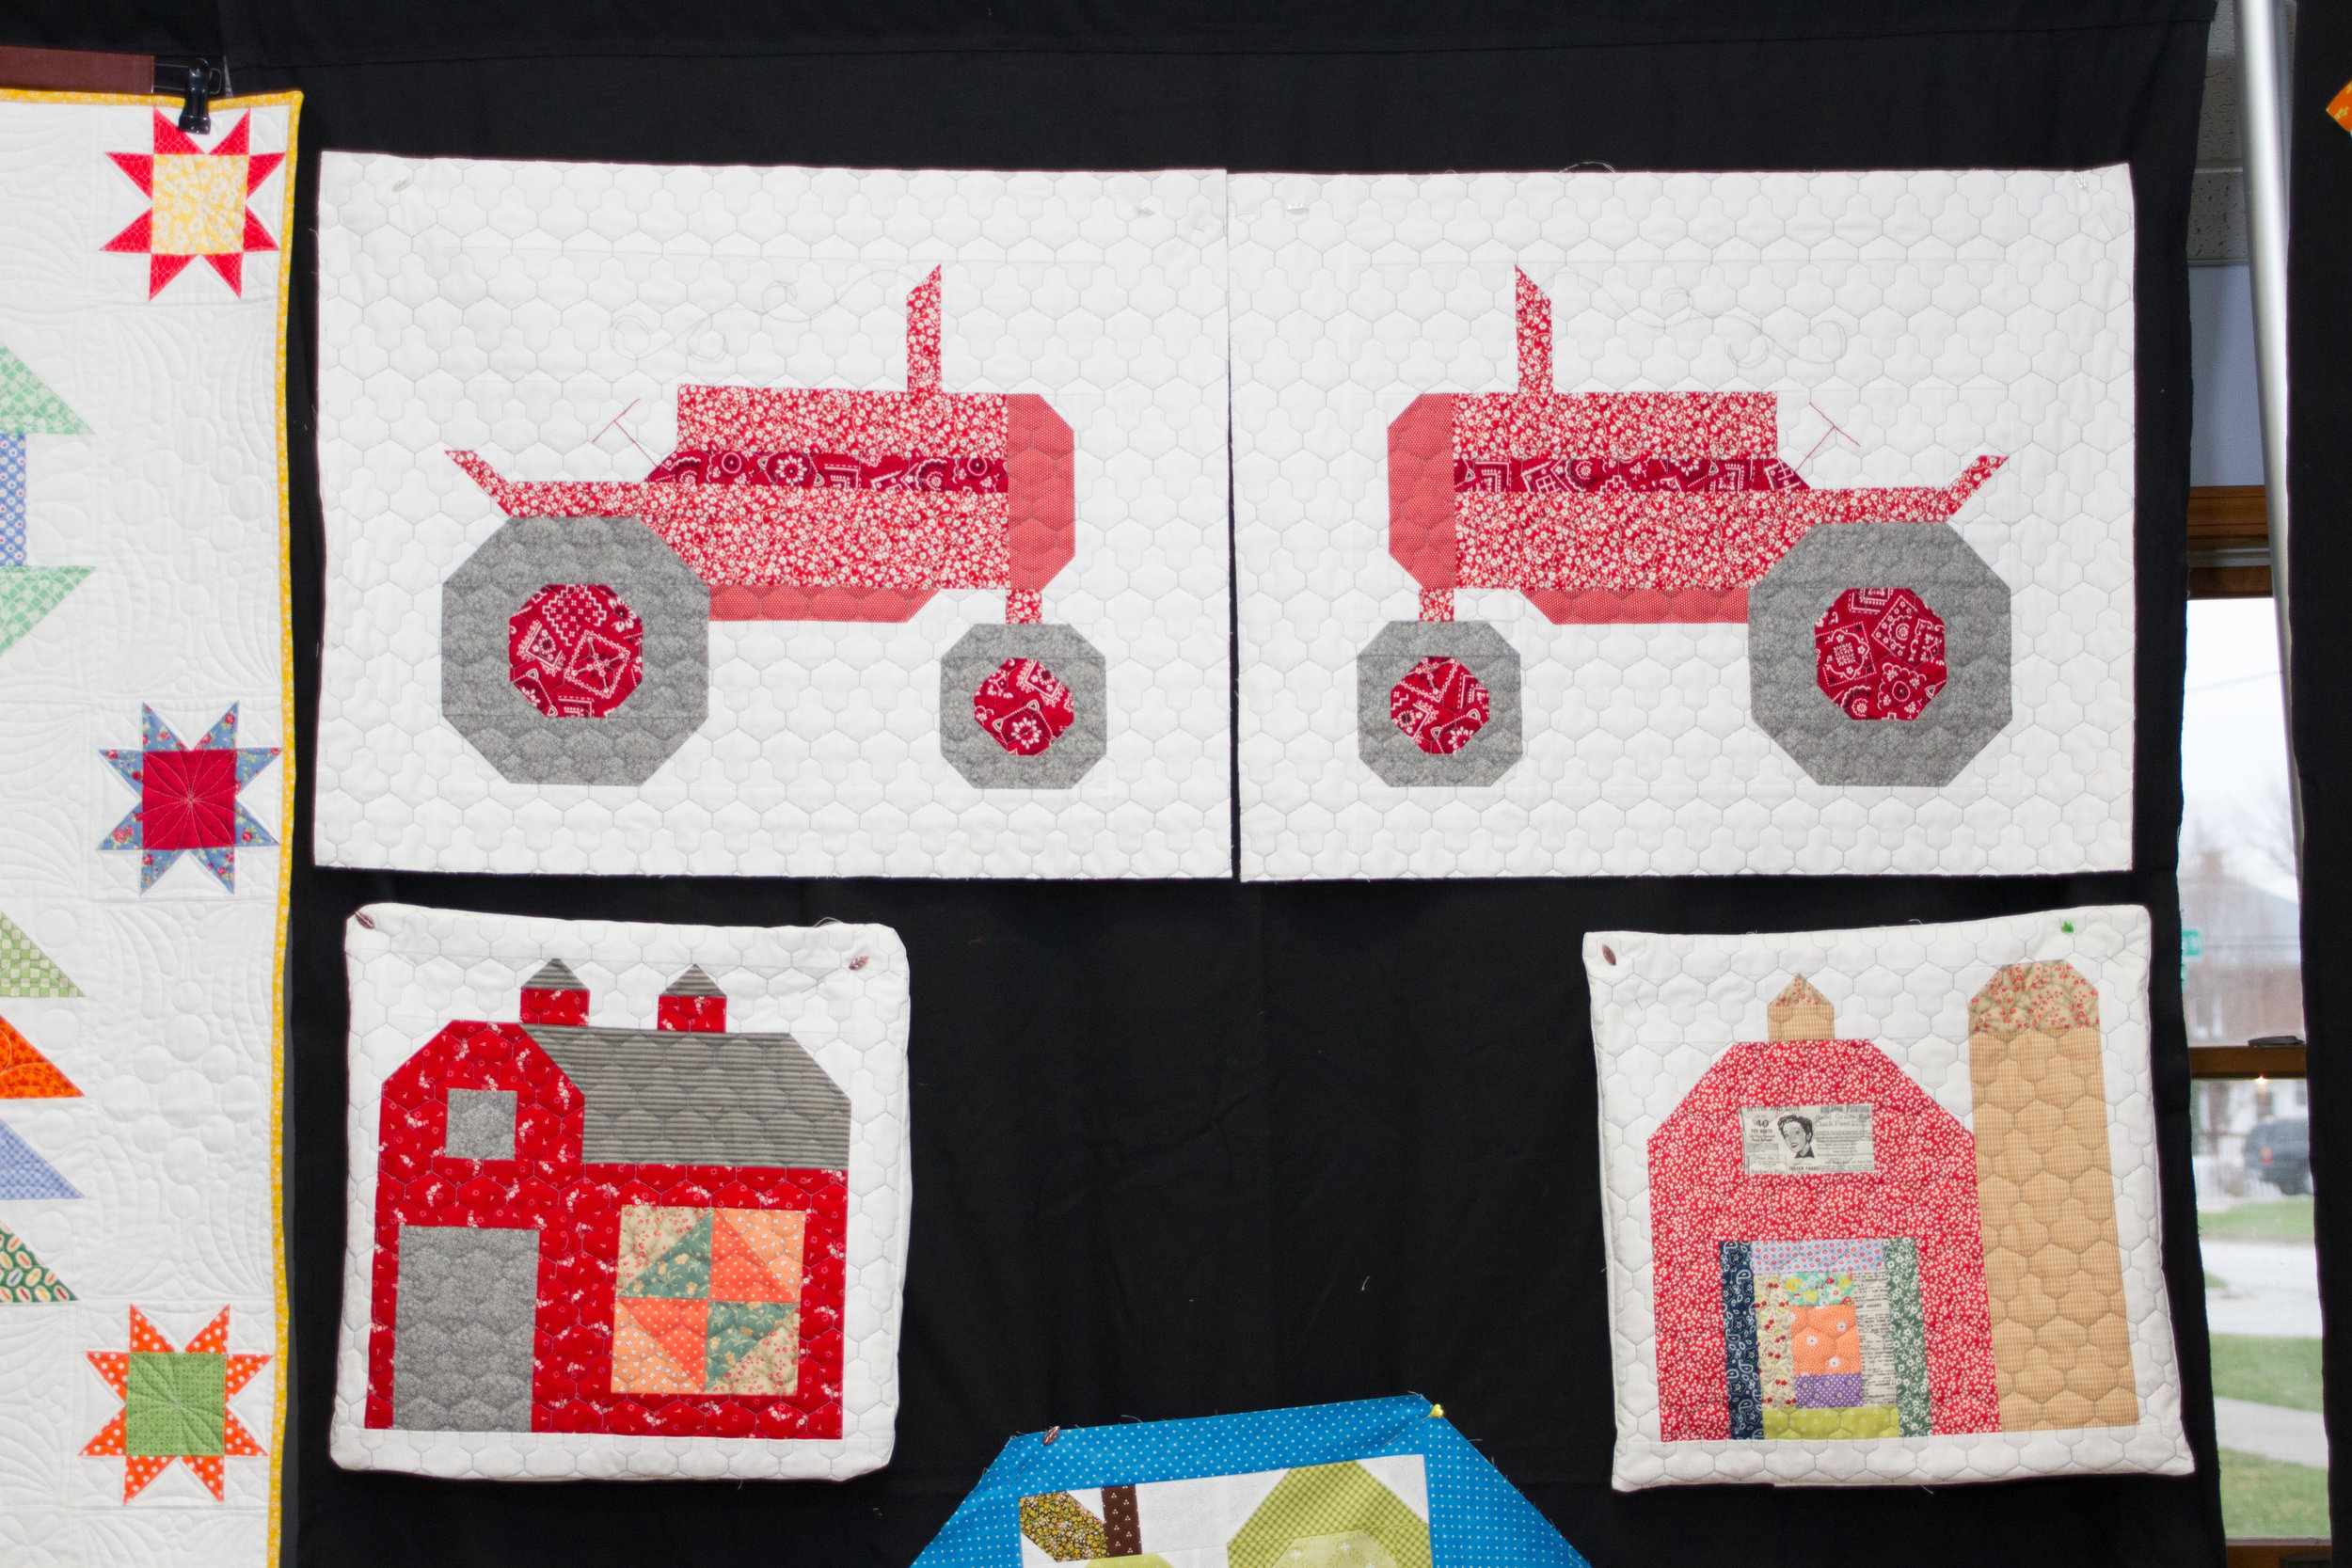
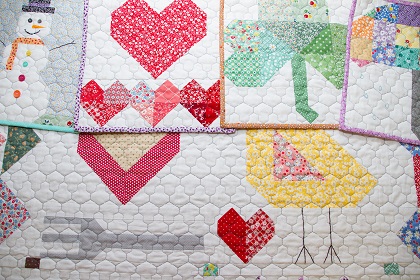
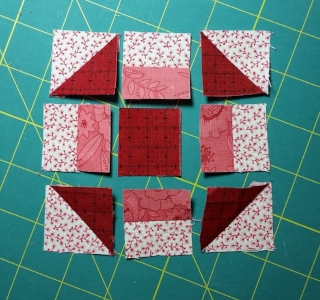
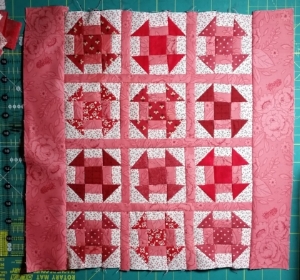
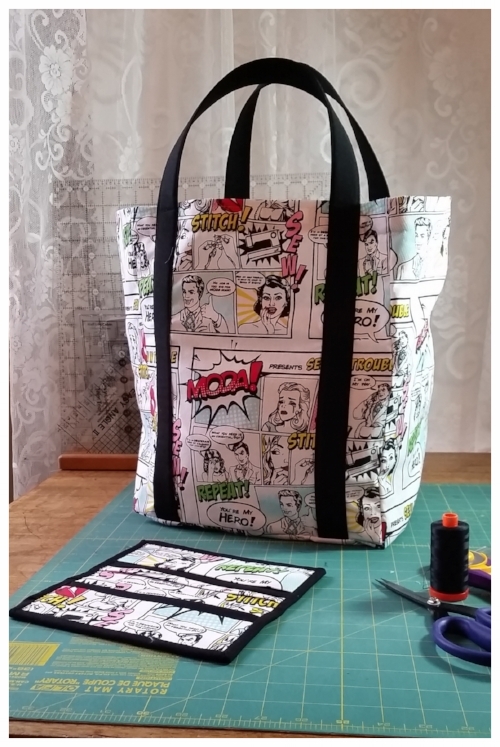
Moda Fabrics / United Notions has designated the 3rd Saturday in September of every year as National Sew A Jelly Roll Day to encourage collectors to tear open a Moda Jelly Roll and make something for themselves, as a gift or for charity! It can be a quilt or a tote bag, a pillowcase or something to wear, it doesn’t matter so long as we seize the day and celebrate the joy of being a maker. Share your day on social media with #projectjellyroll. You might even win a prize!
HERE'S WHAT'S HAPPENING AT ROCKINGCHAIRQUILTS.COM TO CELEBRATE NATIONAL SEW A JELLY ROLL DAY:
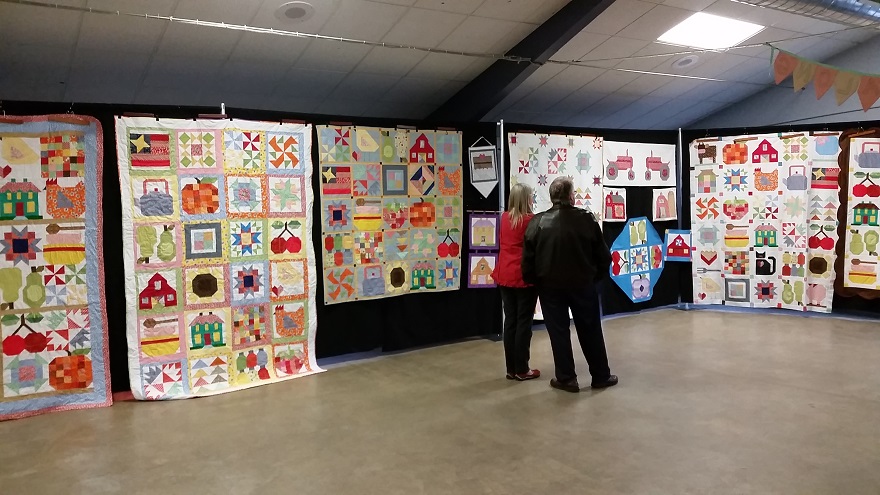
September 16th, come and party with us @ the Rocking Chair Quilts storefront in Grant Park, Illinois.
- Door Prizes
- Free Jelly Roll Patterns - courtesy of Moda Fabrics
- $ave on Jelly Rolls
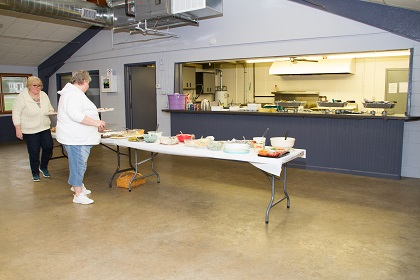
- Snacks
If you are not nearby we'll offer the same enjoyment for our online friends:
- Jelly Roll Giveaways (your online version of door prizes ☺)
- Free downloadable Jelly Roll patterns- courtesy of Moda Fabrics
- $ave on Jelly Rolls in our online store
- Snacks. So....maybe we can't send a snack through the interwebs, but we will share our jelly roll day recipes with you .
- Plan your own event! If you can't visit a local shop that has an event, make plans, shake it down , roll it up, play and sew with friends.
- -start planning with Moda's free checklist (download it below)
FABRIC+ FUN + FOOD = HOO-RAY!

At this writing, National Jelly Roll Day is still about a month away - but thanks to the folks at Moda, you can start planning for your Jelly Roll Day with this handy checklist:
Stay Tuned: We will be hosting these events and have Jelly Roll "Specials" in store and online. To find out when things get started in September:
Like us on Facebook, subscribe to this blog below or sign up for our newsletter to stay updated on when these fun activities begin.
Moda has a website dedicated to #projectjellyroll. CLICK HERE to visit. It is SO pretty!
Thanks for reading - I hope you make some plans to join us , or plan your own jolly jelly event .
*Share photos of all your jelly doings with #projectjellyroll ON SOCIAL MEDIA
(and you may even win a prize - PROVIDED by Moda Fabrics United Notions)
Not on Facebook, Instagram or Twitter? You can email your pictures to me and I will share them for you. EMAIL me here: Carol@RockingChairQuilts.com
Until we blog again, Enjoy the Sew!®
-Carol
SUBSCRIBE TO THE RCQ BLOG : WHEN YOU SIGN UP HERE YOU"LL RECEIVE AN EMAIL WHEN A NEW BLOG POST IS PUBLISHED: